
 4946
4946
While your computer comes with many Apps, we have many more available for you to install via Self Service+ on your Mac.
Please follow the directions below to install Apps from Self Service+ in macOS.
1. Launch Self Service+. The Self Service+ application is located in the Applications Folder and on your dock. The icon looks like this:
2. The Applications that are available for you to install are presented to you after you launch Self Service+. After it opens, click on the Catalog category within the left sidebar.
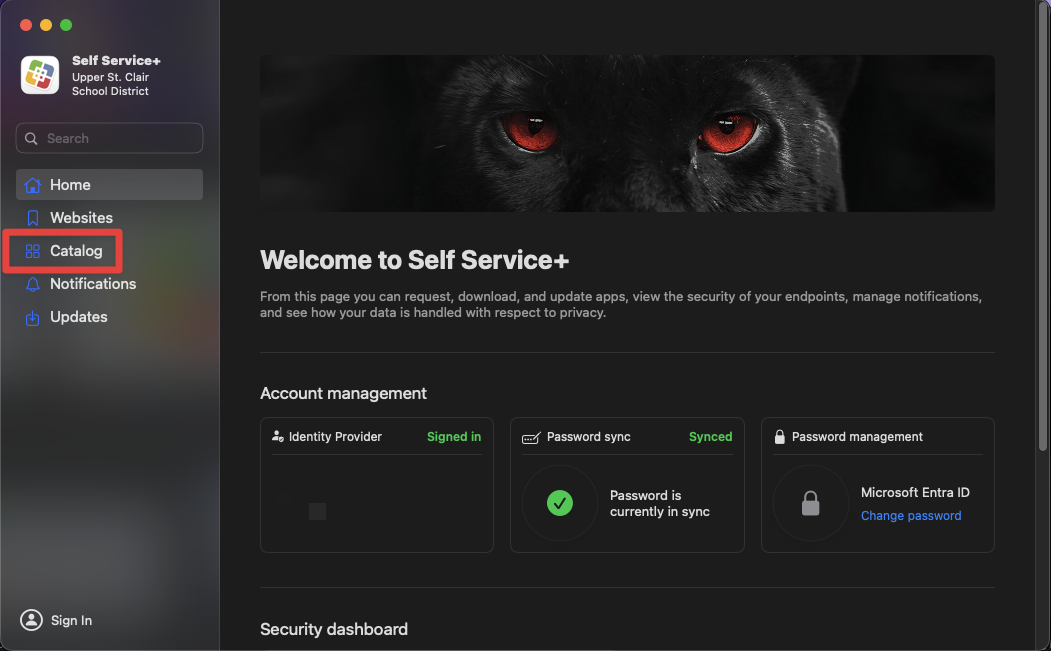
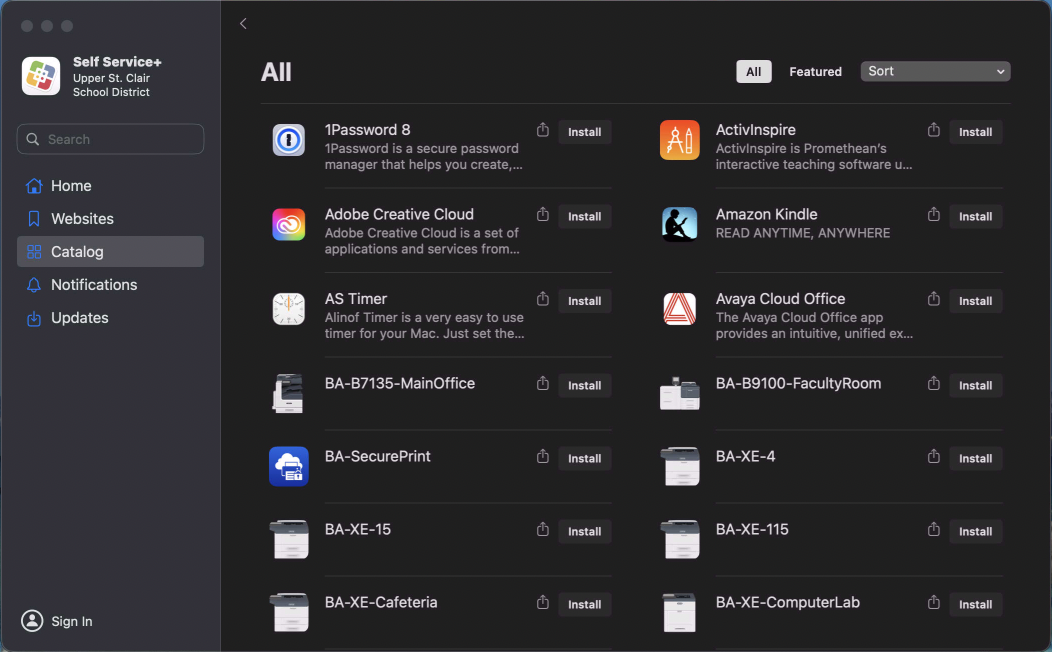
You will notice they are categorized in the middle of the screen if you are looking for a specific category. You can also search for an Application by name in the upper left corner of Self Service. Please note that, depending on your department, classification, and/or the machine that you are using, what is available for you to install may vary.
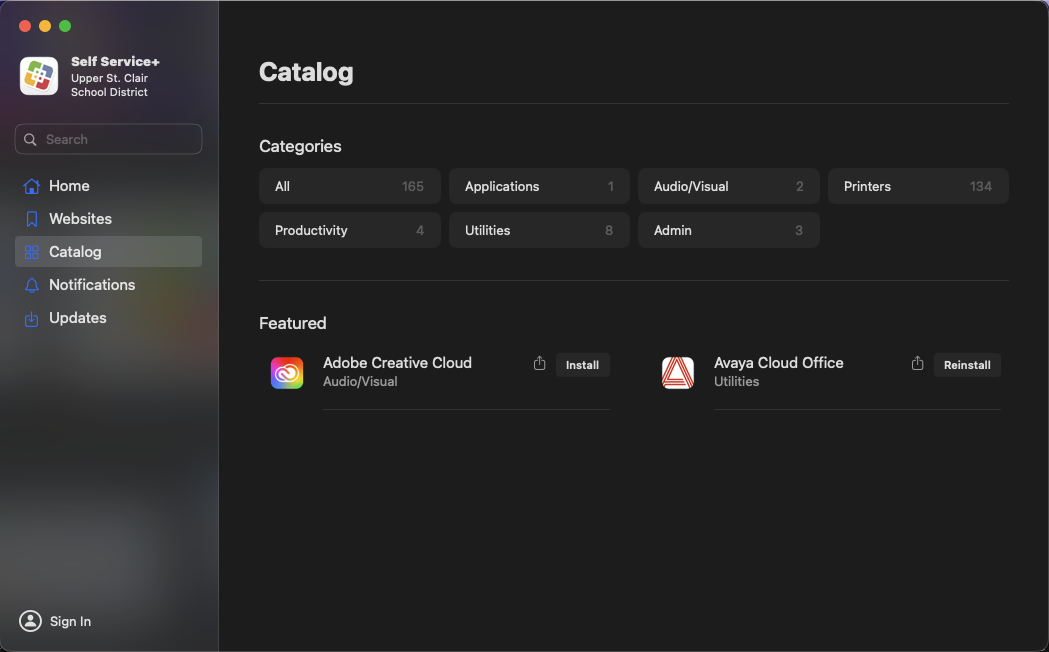
3. To install an application, click on the Install button to the right of the name and icon, and then the selected Application will begin the installation process. Depending on the size of the Application, this could take some time to complete the installation. You can also install any of the District's printers from Self Service+.
4. Once the Application is installed, you will see it added to your Applications folder. (The Install button for that given app will change to Reinstall within Self Service +.)

