 6078
6078
The Seating Charts feature allows teachers to create a seating chart for each class section, which includes students' names, students' pictures, desks, other furniture present in the classroom such as tables, the American flag, and more. Once set up, teachers can use the seating chart to take attendance and award positive behaviors. Multiple seating charts can be created to reflect different layouts.
Because you will have classes consisting of two different hybrid learning groups of students, you will need to make a seating chart for each hybrid group of students. (Example: Homeroom 102 A, Homeroom 102 B).
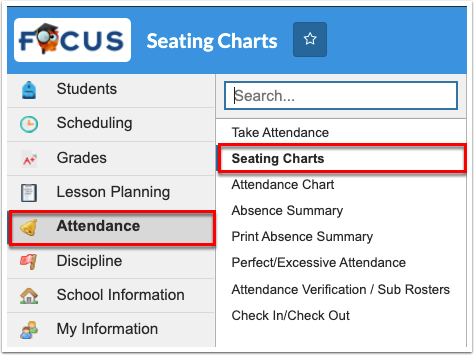
1. From the Attendance menu, click Seating Charts.

2. Enter the Chart Name in the provided text box. Be sure to include the label for Hybrid Group A or Hybrid Group B to easily distinguish between the two groups of students.

3. Select your Starting Point; options are described below.
Grid: The chart will start with a generated grid of desks or chairs, facing the selected front of class, with the selected rows and columns. (RECOMMENDED)
Freeform: The chart will start completely blank.
Copy of Previous Layout: The chart will start with the furniture layout from the selected chart. Select the Existing Room Layout from the pull-down; options listed include all previously created charts.

4. Depending on the Starting Point selected, select the Front of Class direction by clicking one of the four arrow choices (Up, Right, Down, or Left).

5. Depending on the Starting Point selected, enter the number of Rows and Columns needed for students' chairs/desks. Desks or chairs can be added or deleted while editing the seating chart after the initial creation of the chart.

6. Click Create.


