320
320
If you have any unfinished movies in iMovie, you'll need to back up the Movies folder. If you have finalized movies (.mov or .mp4 files), you copy them into your Google Drive like regular files.
iMovie stores everything in the iMovie Library.imovielibrary and iMovie Theater.theater files. This knowledge base article explains how to back up these files.
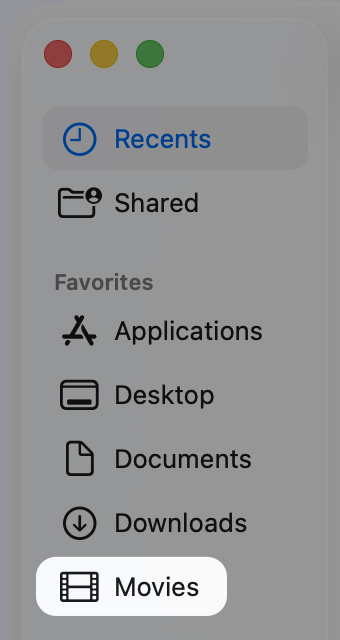
By default, the Movies folder is not on the Finder Sidebar. You might have added it, and your Finder Sidebar looks like the picture below. If you see it, you can skip to the next section. If it is not there, please add it using the steps below. Adding the folder will make the backup process easier.
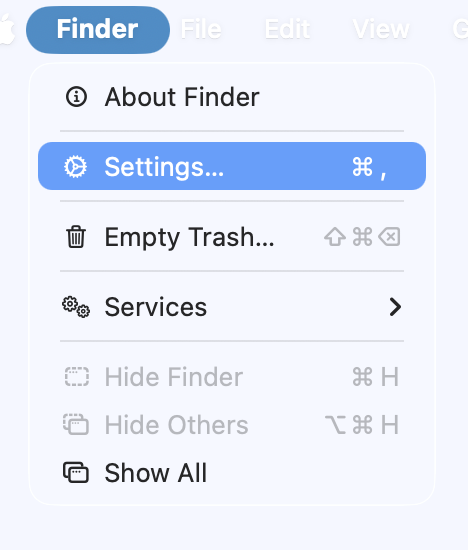
If you do not see the Music folder on the Sidebar, select Finder from the top menu bar (next to the Apple logo), and click Settings. You can also use the key shortcut <control> <comma>
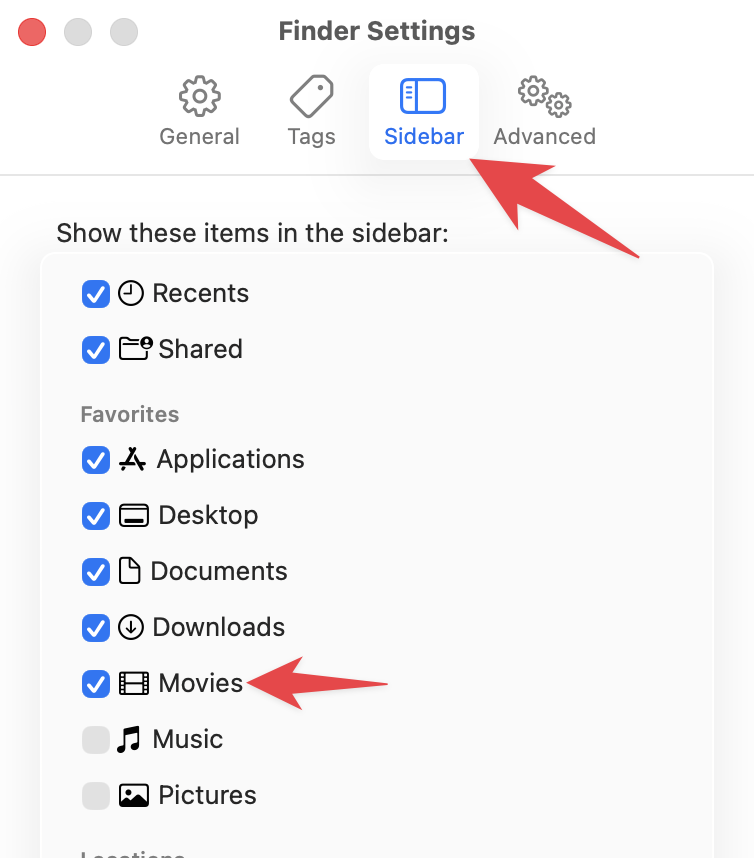
In Settings, select Sidebar, then select the Movies checkbox. If you are also backing up Music or Photos select those checkboxes.
To start the process of backing up the Movies folder, open a Finder window and select the Movies folder from the sidebar.
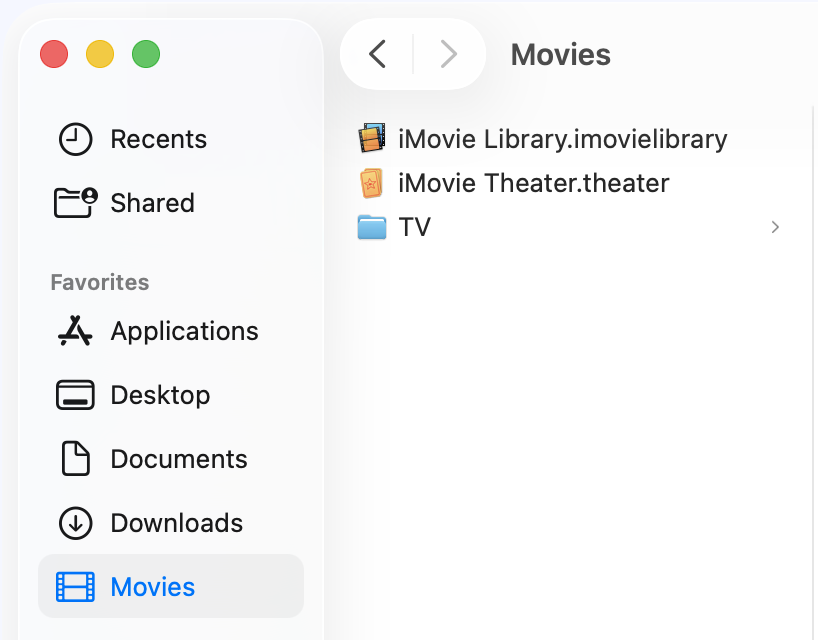
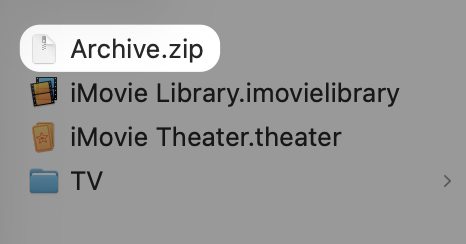
There may be other files or folders in your Movies folder, and that is OK. Verify that the iMovie Library.imovielibrary and iMovie Theater.theater files are in the Movies folder.
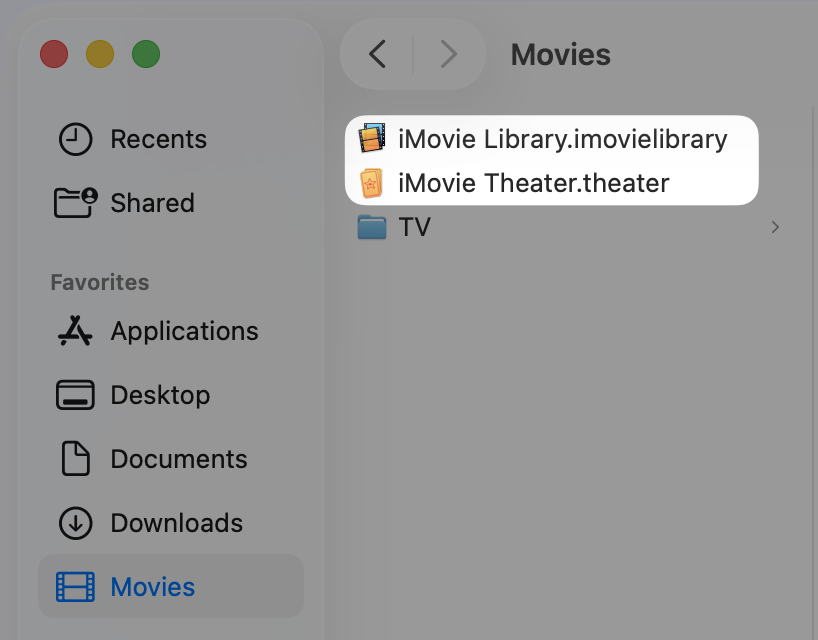
Select all the files and folders in your Movies [1] folder by selecting Edit > Select All [2], typing <command> a, or <shift> clicking all the files and folders. Select File > Compress [3] or right-click the selected files and folders and select “Compress.”

Depending on the file sizes, compressing these files can take some time.
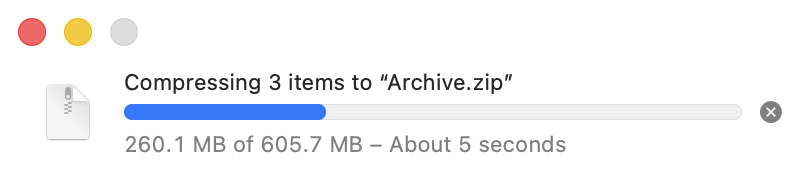
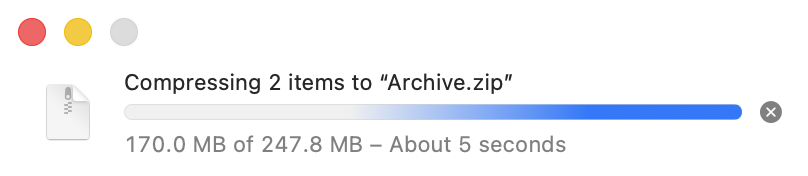
Once compression is complete, you will have a file in your Movies folder named Archive.zip. The Archive.zip file is the compressed file you created.
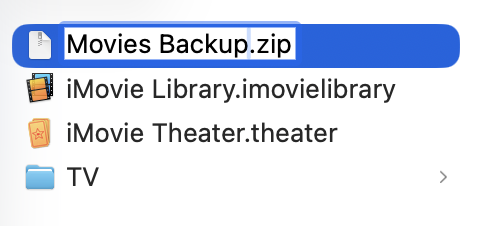
Rename the file to Movies Backup.zip, so it is easy to locate when you copy it to Google Drive.
Copy the Movies Backup.zip file to your Google Drive for backup.
Depending on the file size, it may take some time to copy to Google Drive. Please wait until the file has been fully copied before you turn off or close your computer. You can continue to do other tasks on your computer while it copies.
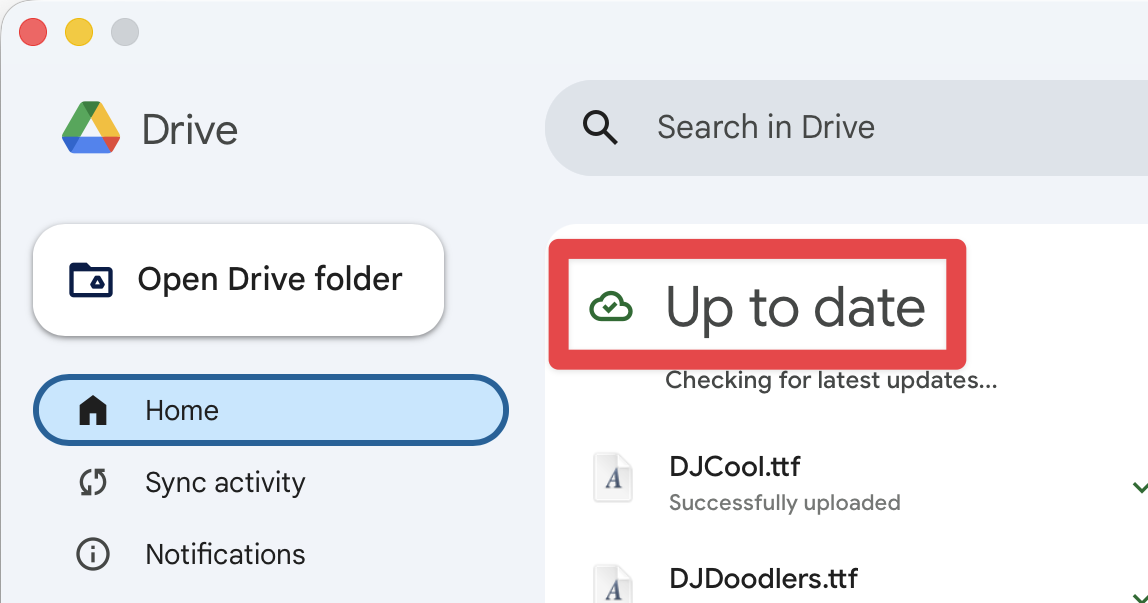
If the Google Drive [1] icon in the menu bar is spinning, a backup is currently in progress. To view more details, click that icon to open the application window. Within the app, select the Home [2] tab to see if the system is still syncing your files [3].
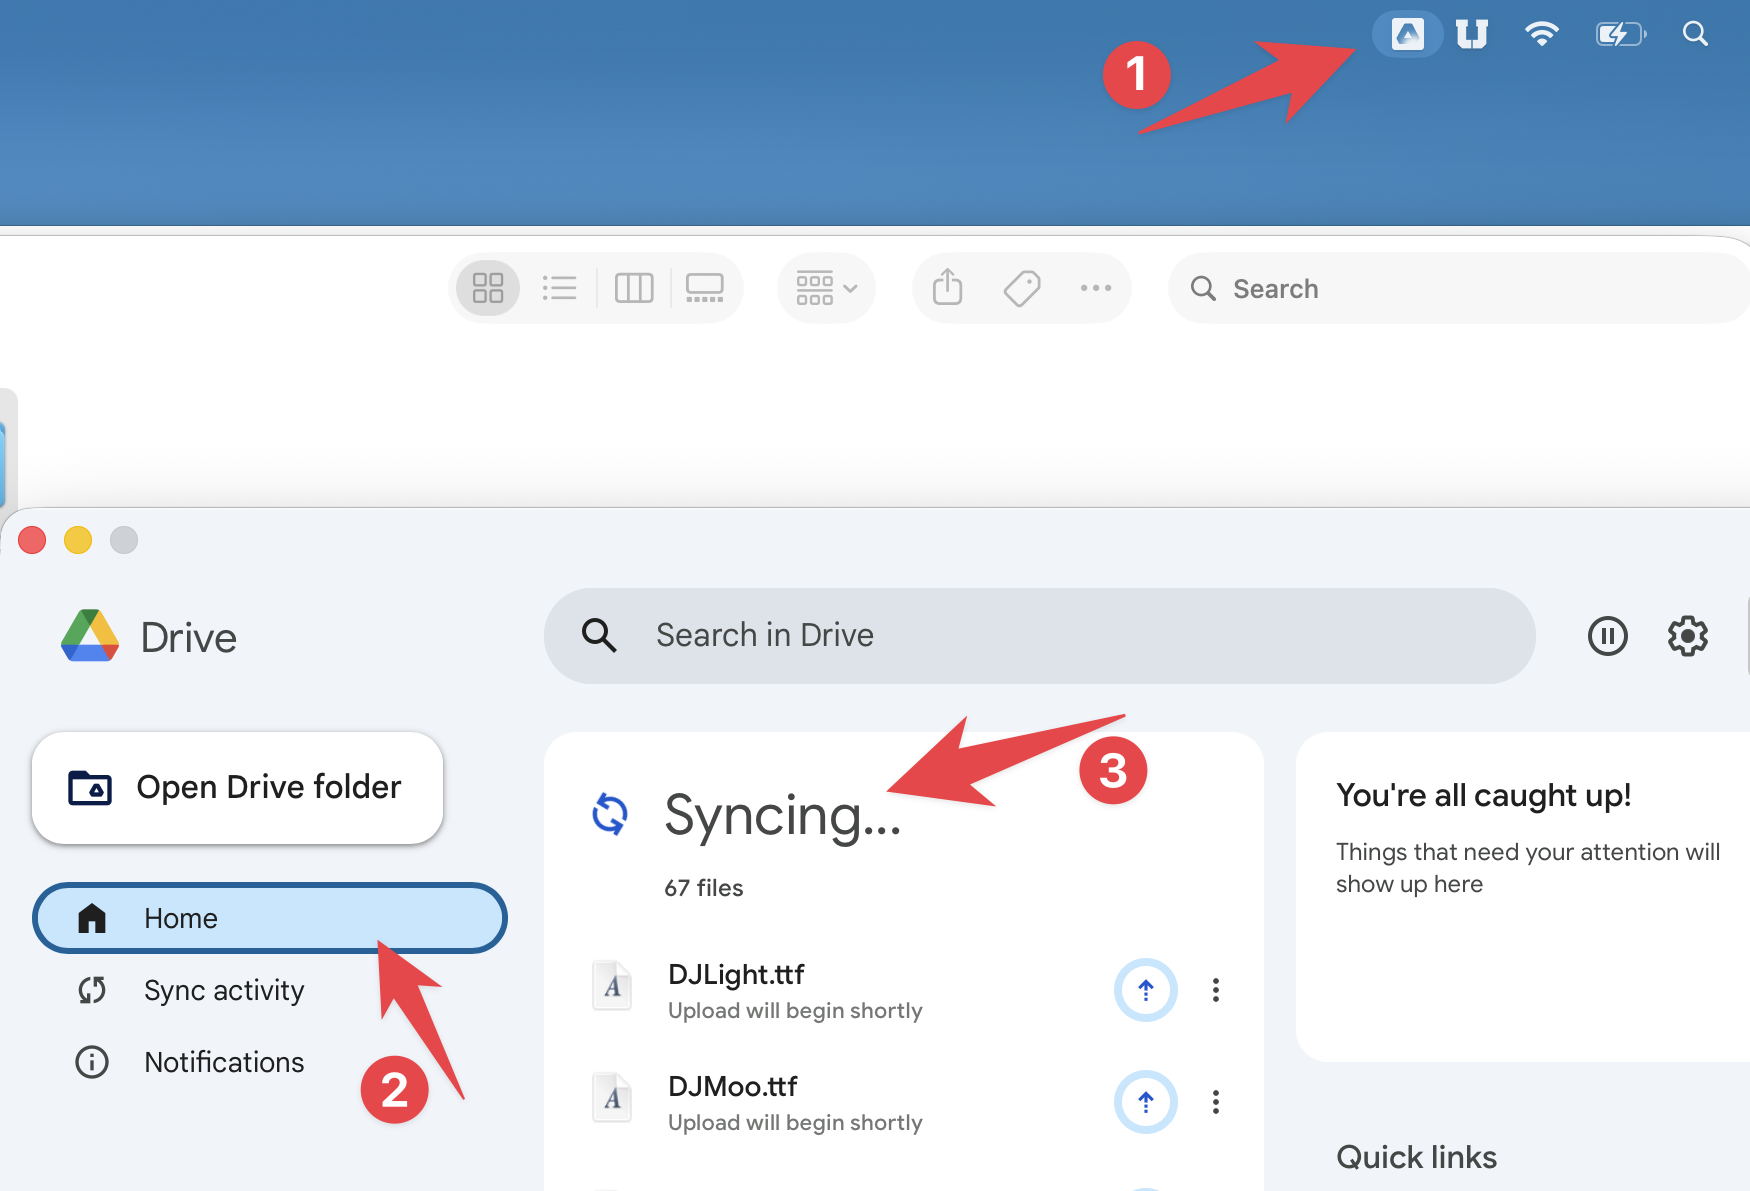
When it is done Syncing, you will see that it is Up to date