
 314
314
If you have previously backed up your Movies folder to Google Drive as a ZIP file, follow these steps to restore movies to your MacBook. If you need to back up your iMovies, refer to this knowledge base article.
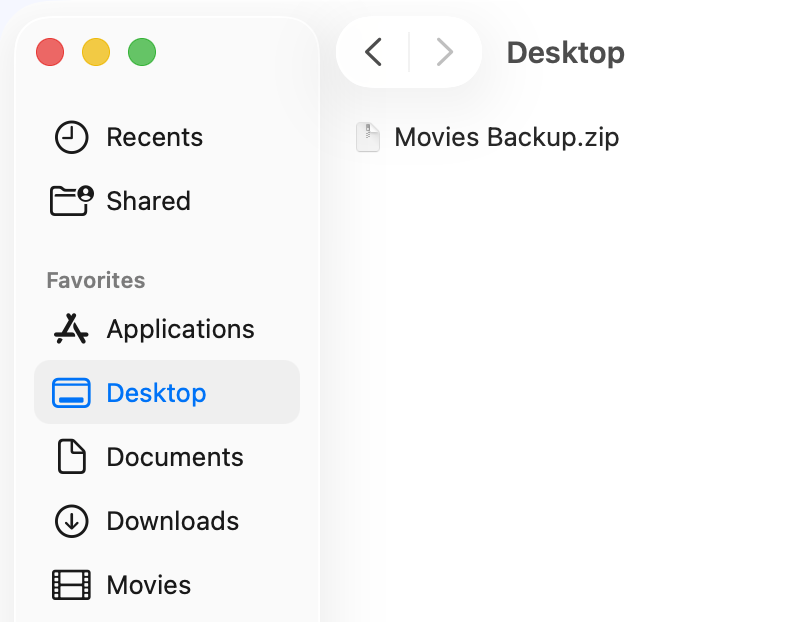
Download the Movies Backup.zip file to the Desktop of your new computer. Find the Movies Backup.zip file in the web browser, select the three dots at the end of your file, and select Download, or find the file using Google Drive in a Finder window, and drag it to the Desktop. Depending on the file size, the download may take some time.
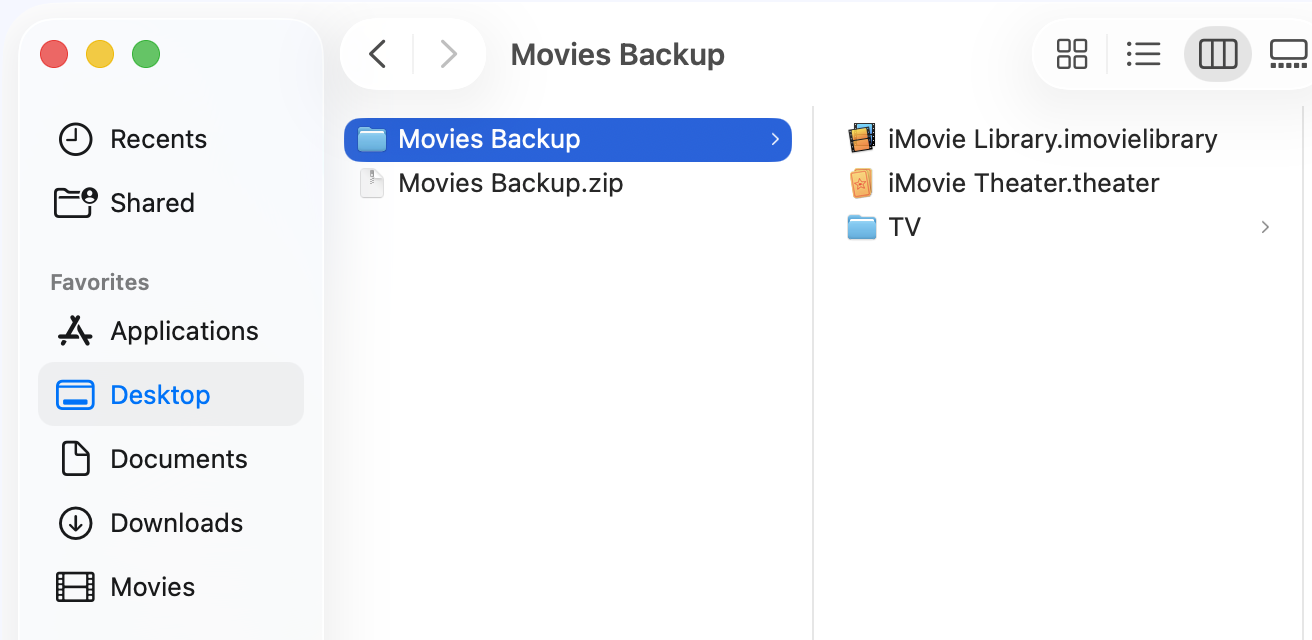
Double-click the Movies Backup.zip file to uncompress it. When it is done, you will see a folder called Movies Backup on your Desktop.
Once the Movies Backup.zip is uncompressed, you can throw it in the trash. It will no longer be needed.
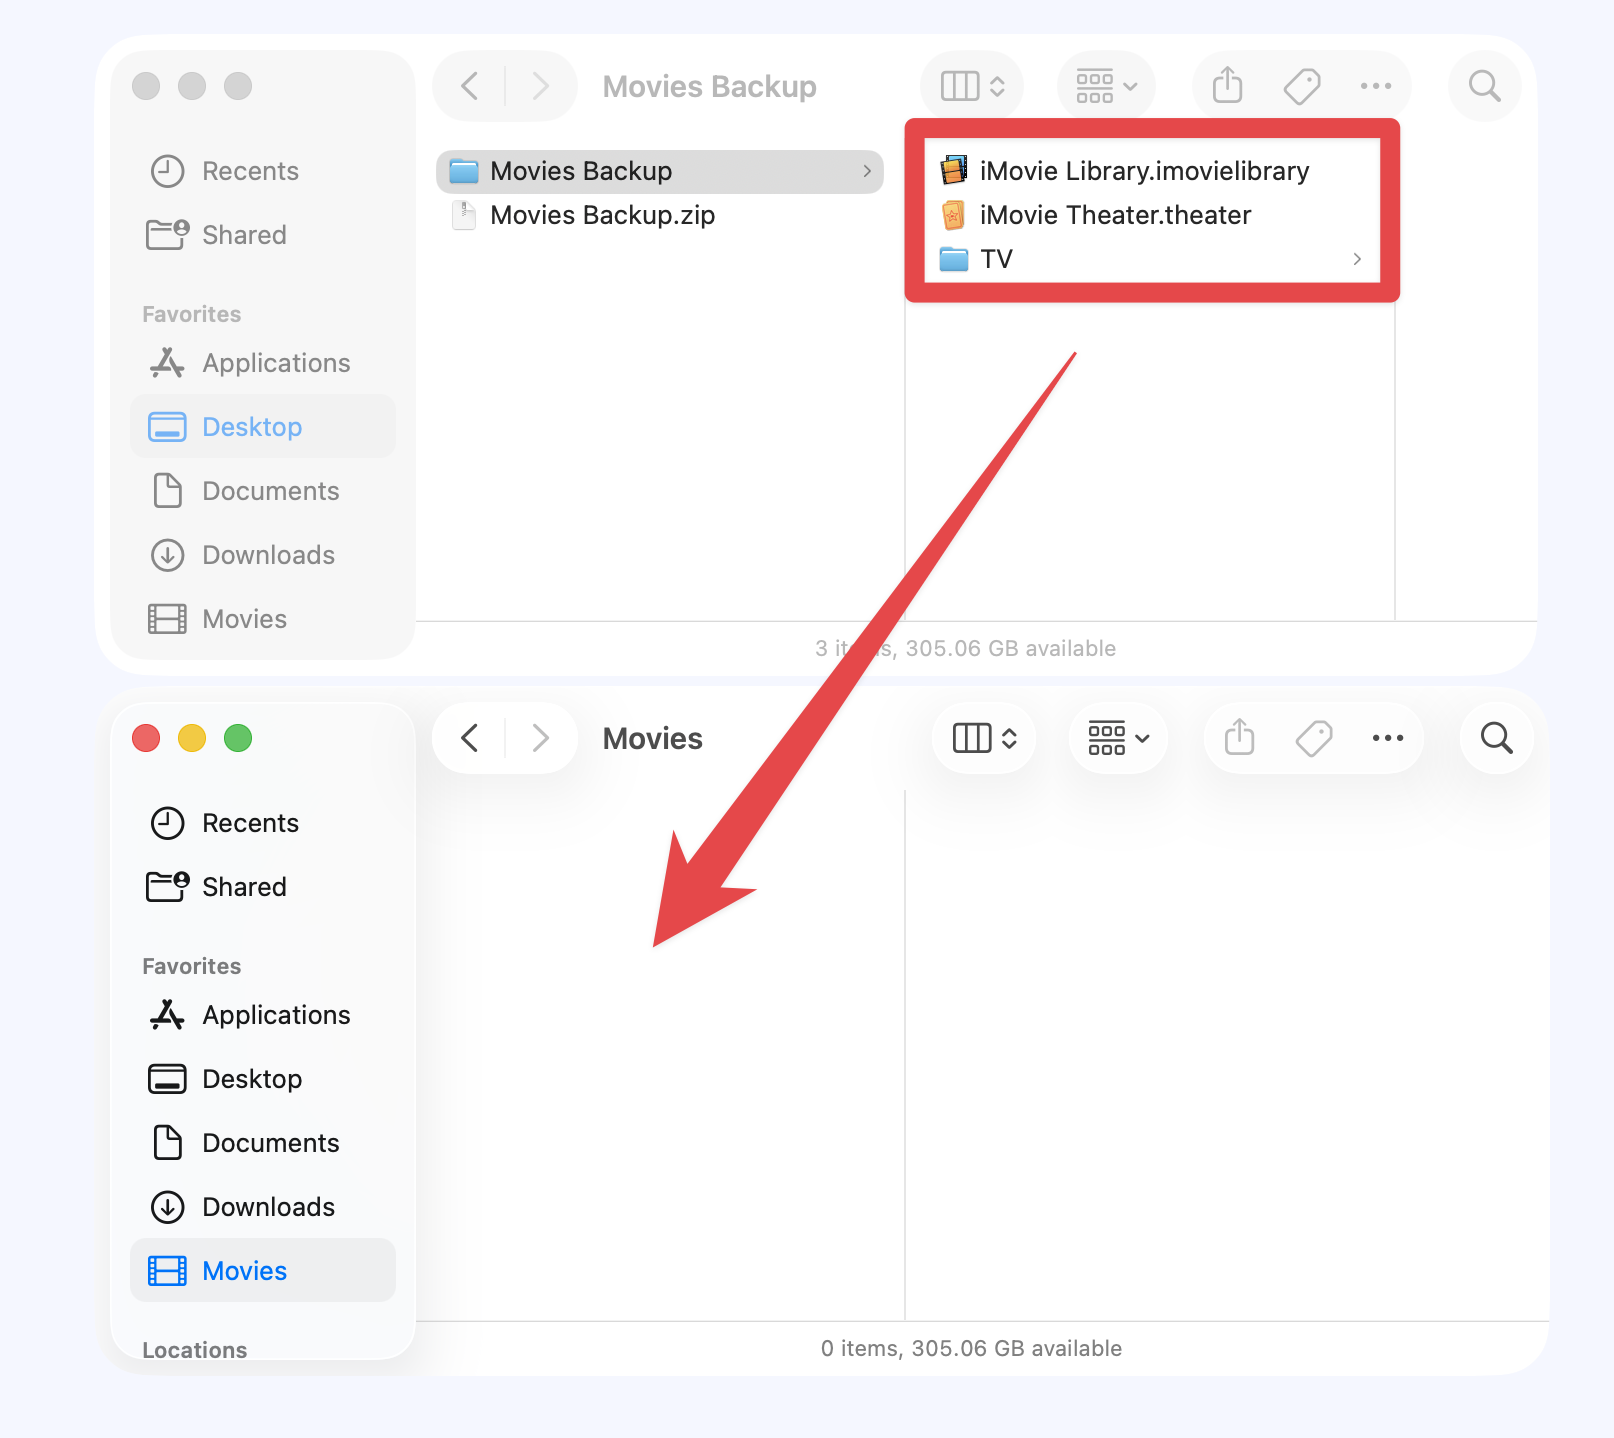
Open a Finder window and select the Movies folder. If you do not see the Movies folder, go to Finder > Settings > Sidebar and check the box next to Movies.
Select all the files from the Movies Backup folder and drag them into the Movies folder.
Once the files have been copied over, you can launch the iMovies App. By default, the iMove App is not installed on your computer. You will need to launch Self Service and install iMovie.
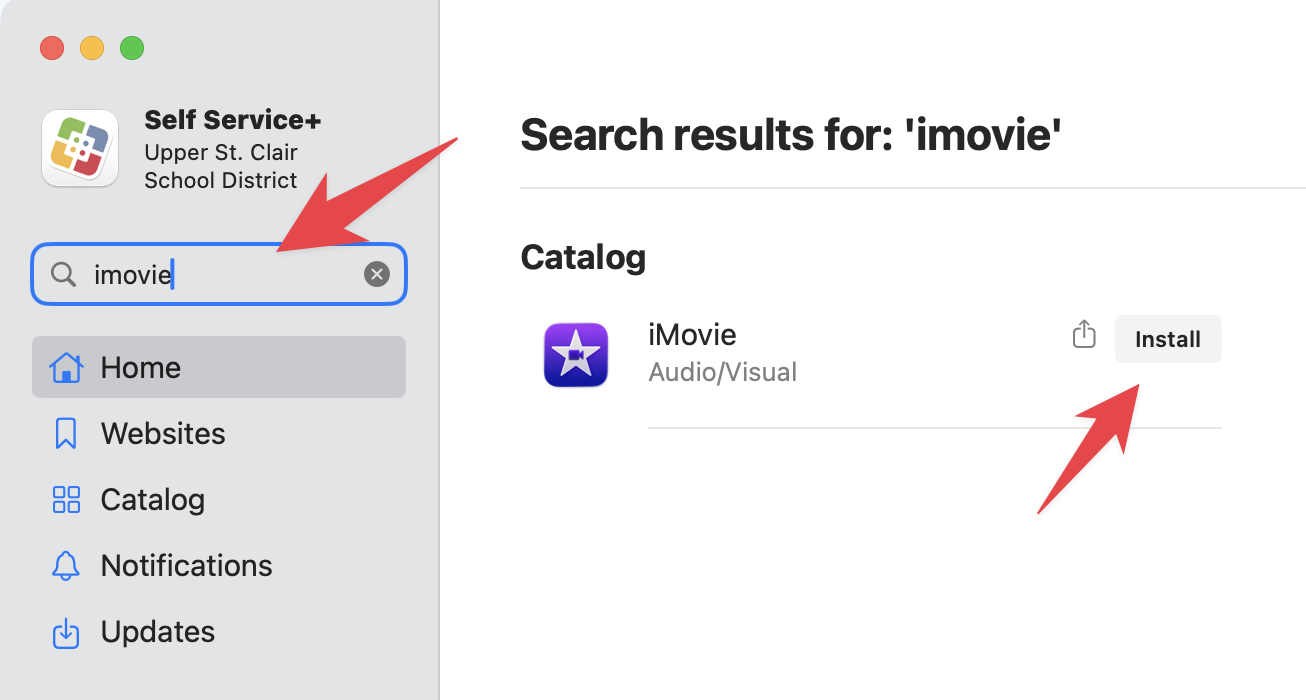
Once iMovie is installed, launch it, and your iMovie projects will appear.

