




 3
3
Safe Fleet's Nexus platform allows video discovery and exporting from vehicle camera systems across the transportation department's fleet.
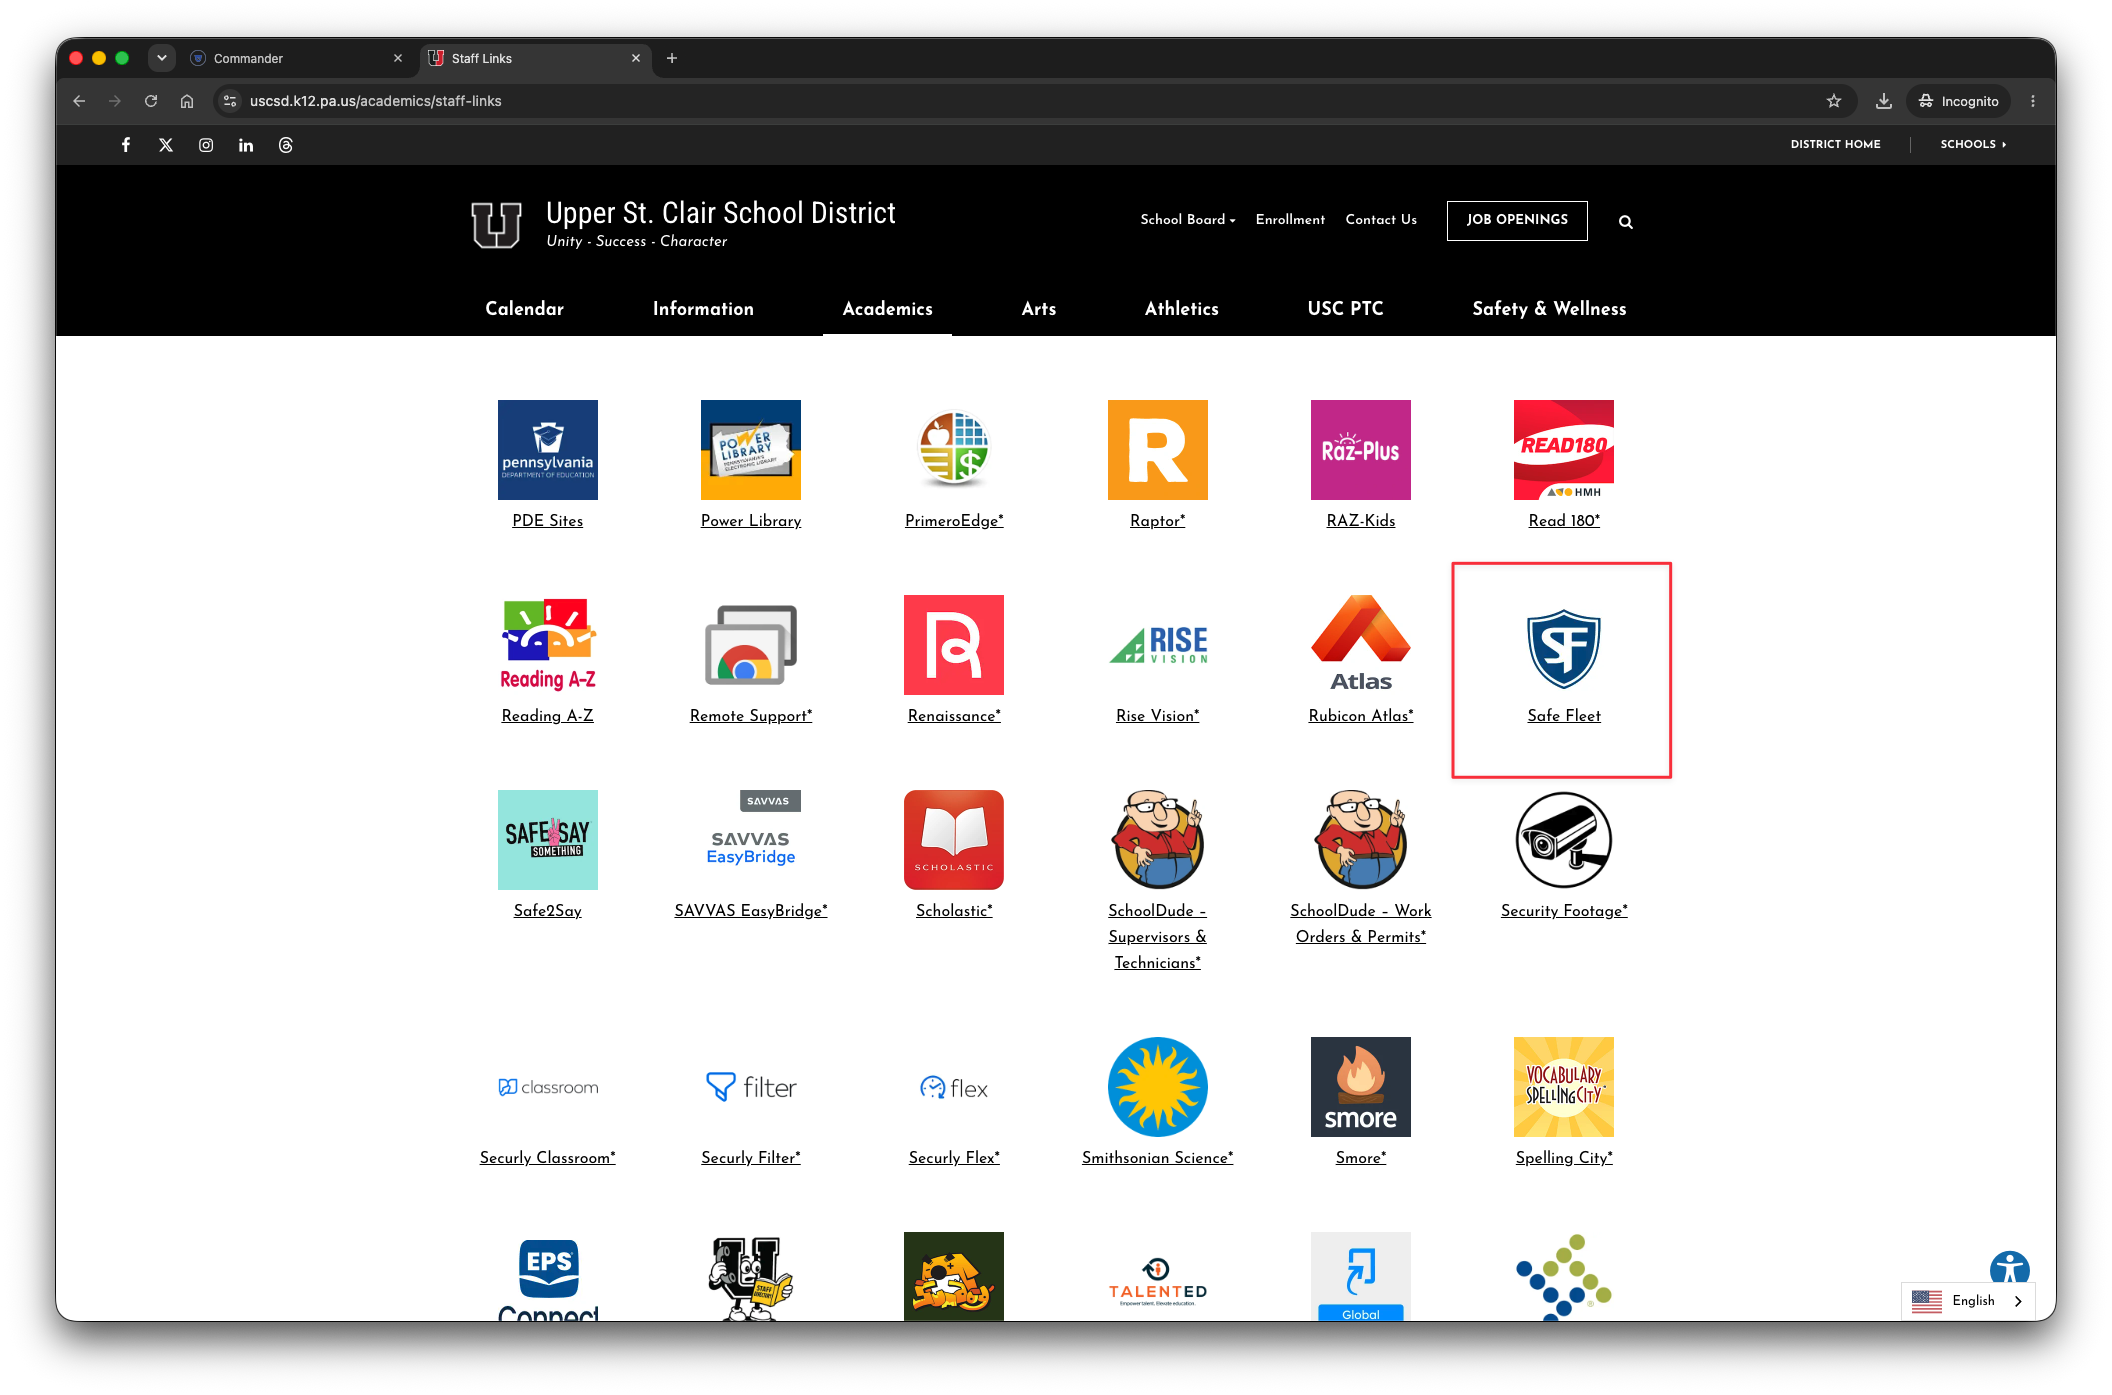
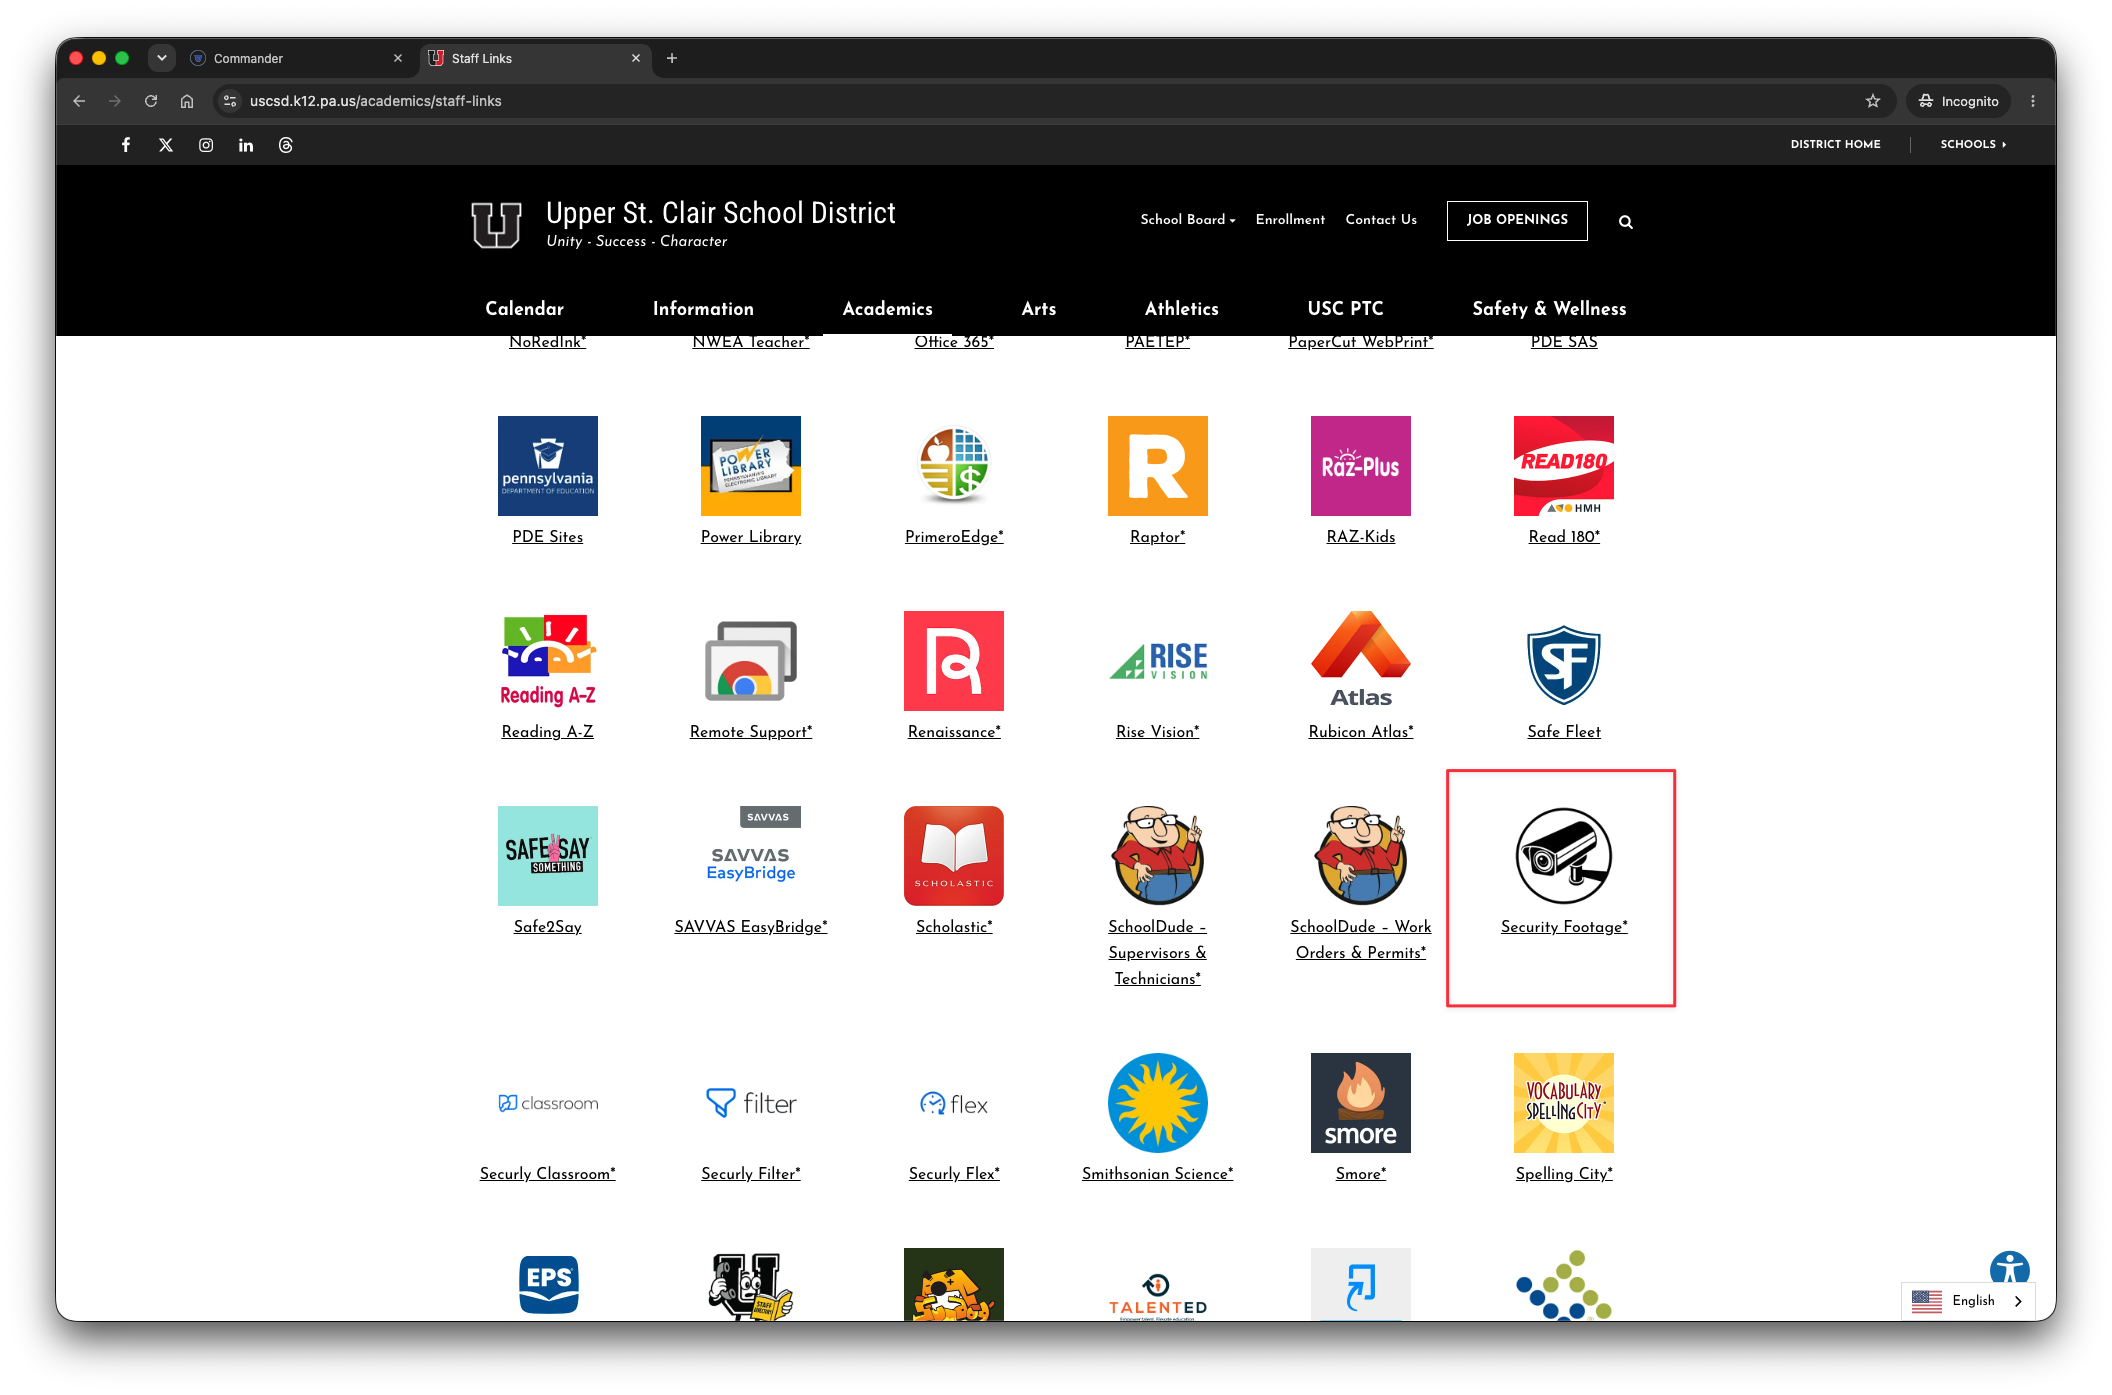
To login, go to Staff Links (https://www.uscsd.k12.pa.us/stafflinks) and click the Safe Fleet icon.
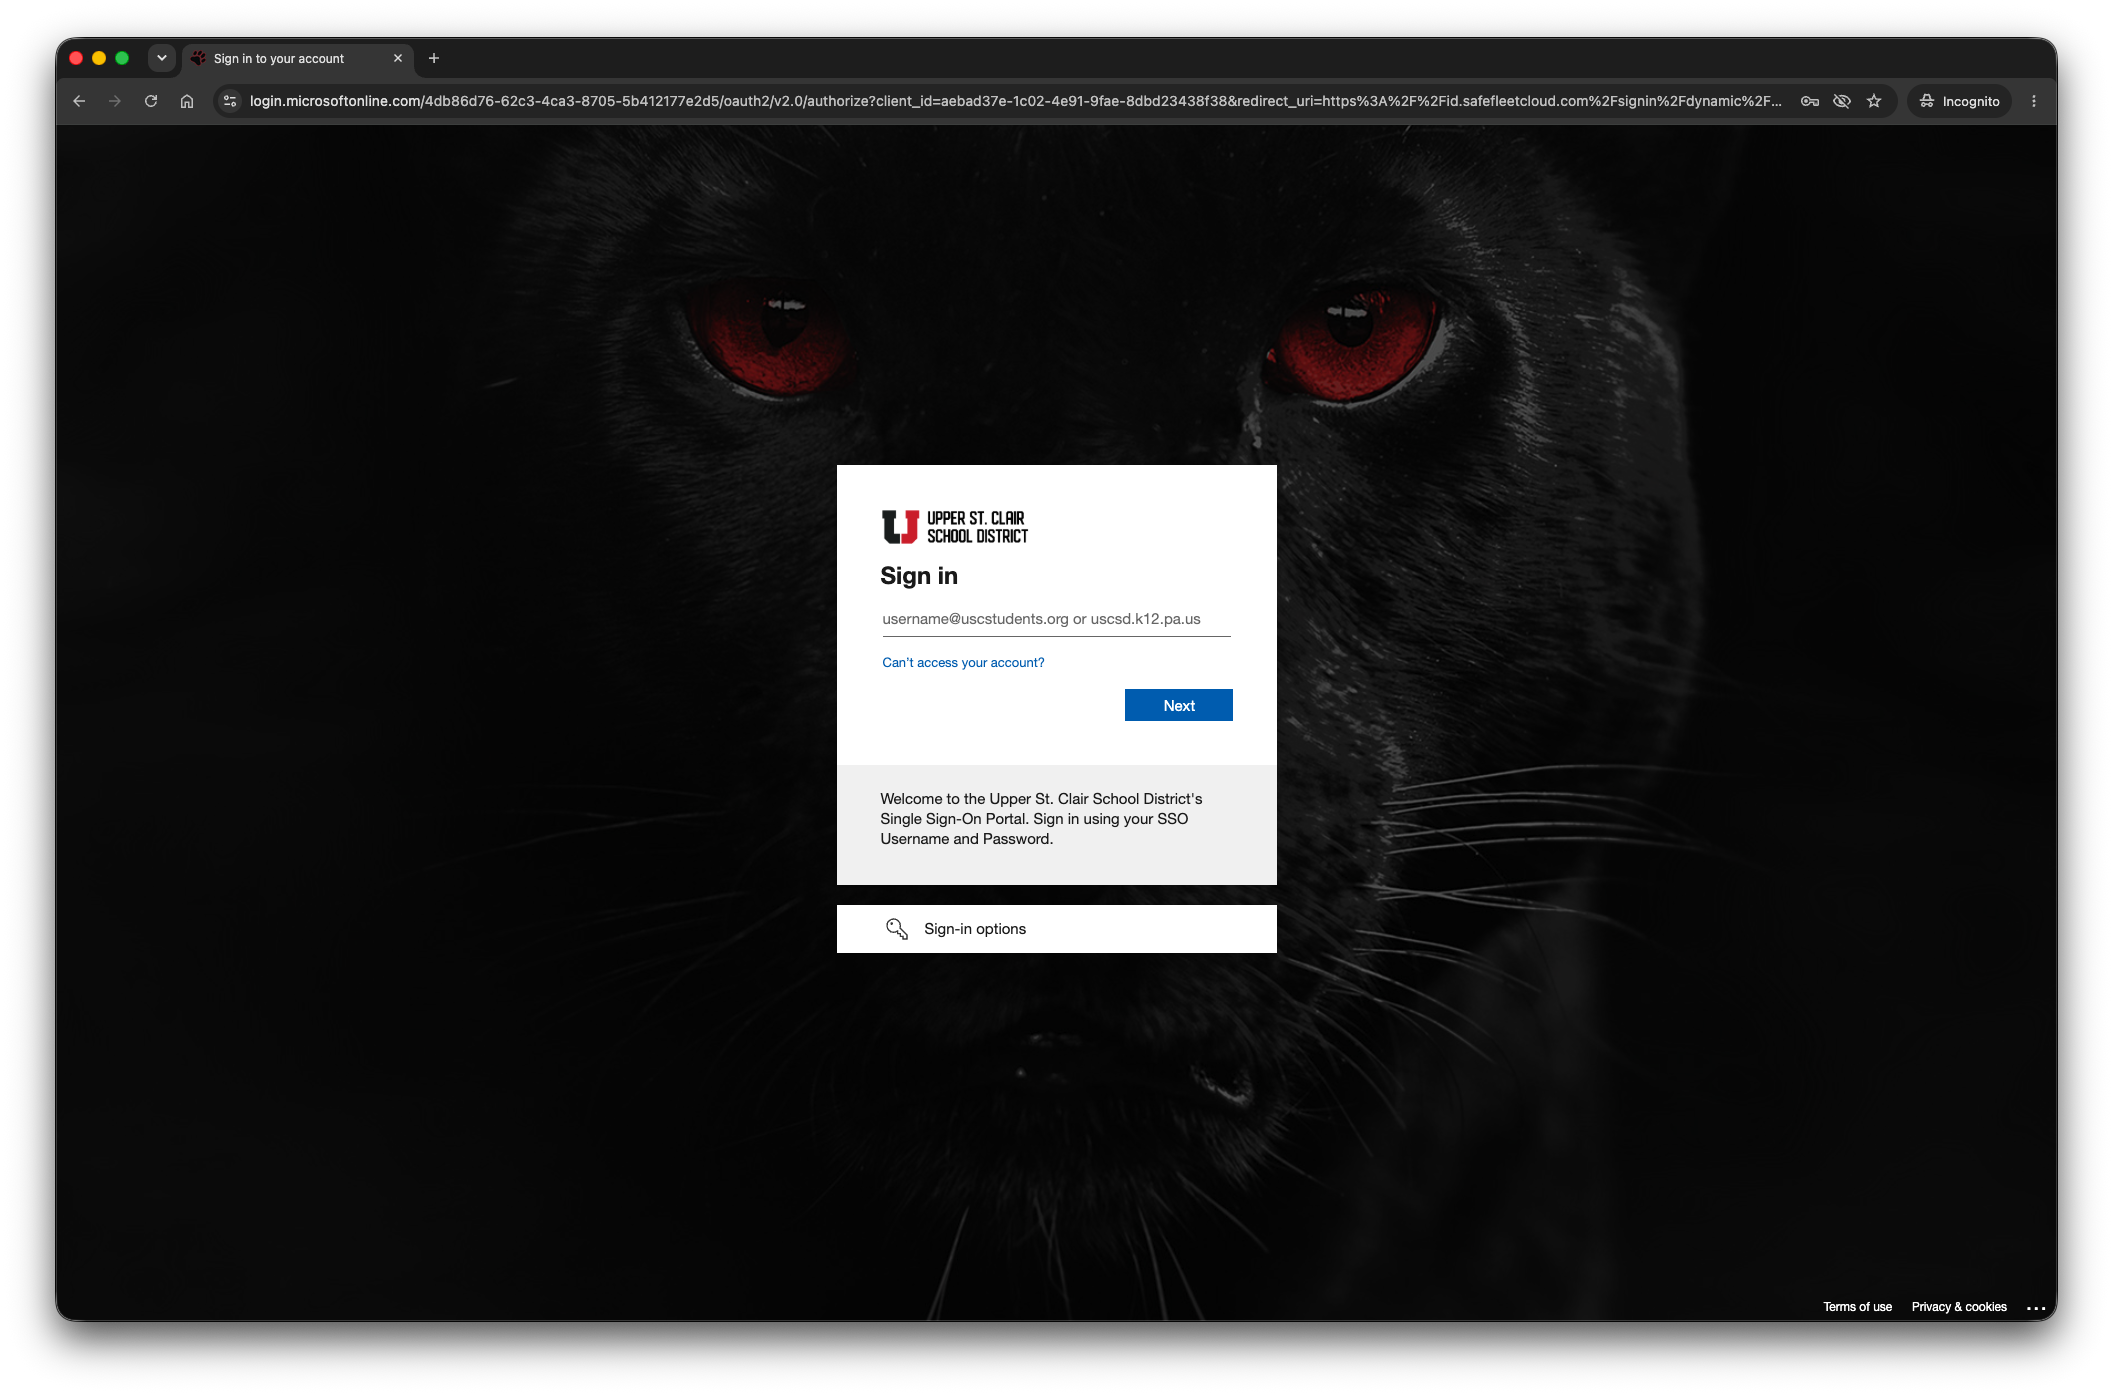
Use your SSO account to login.
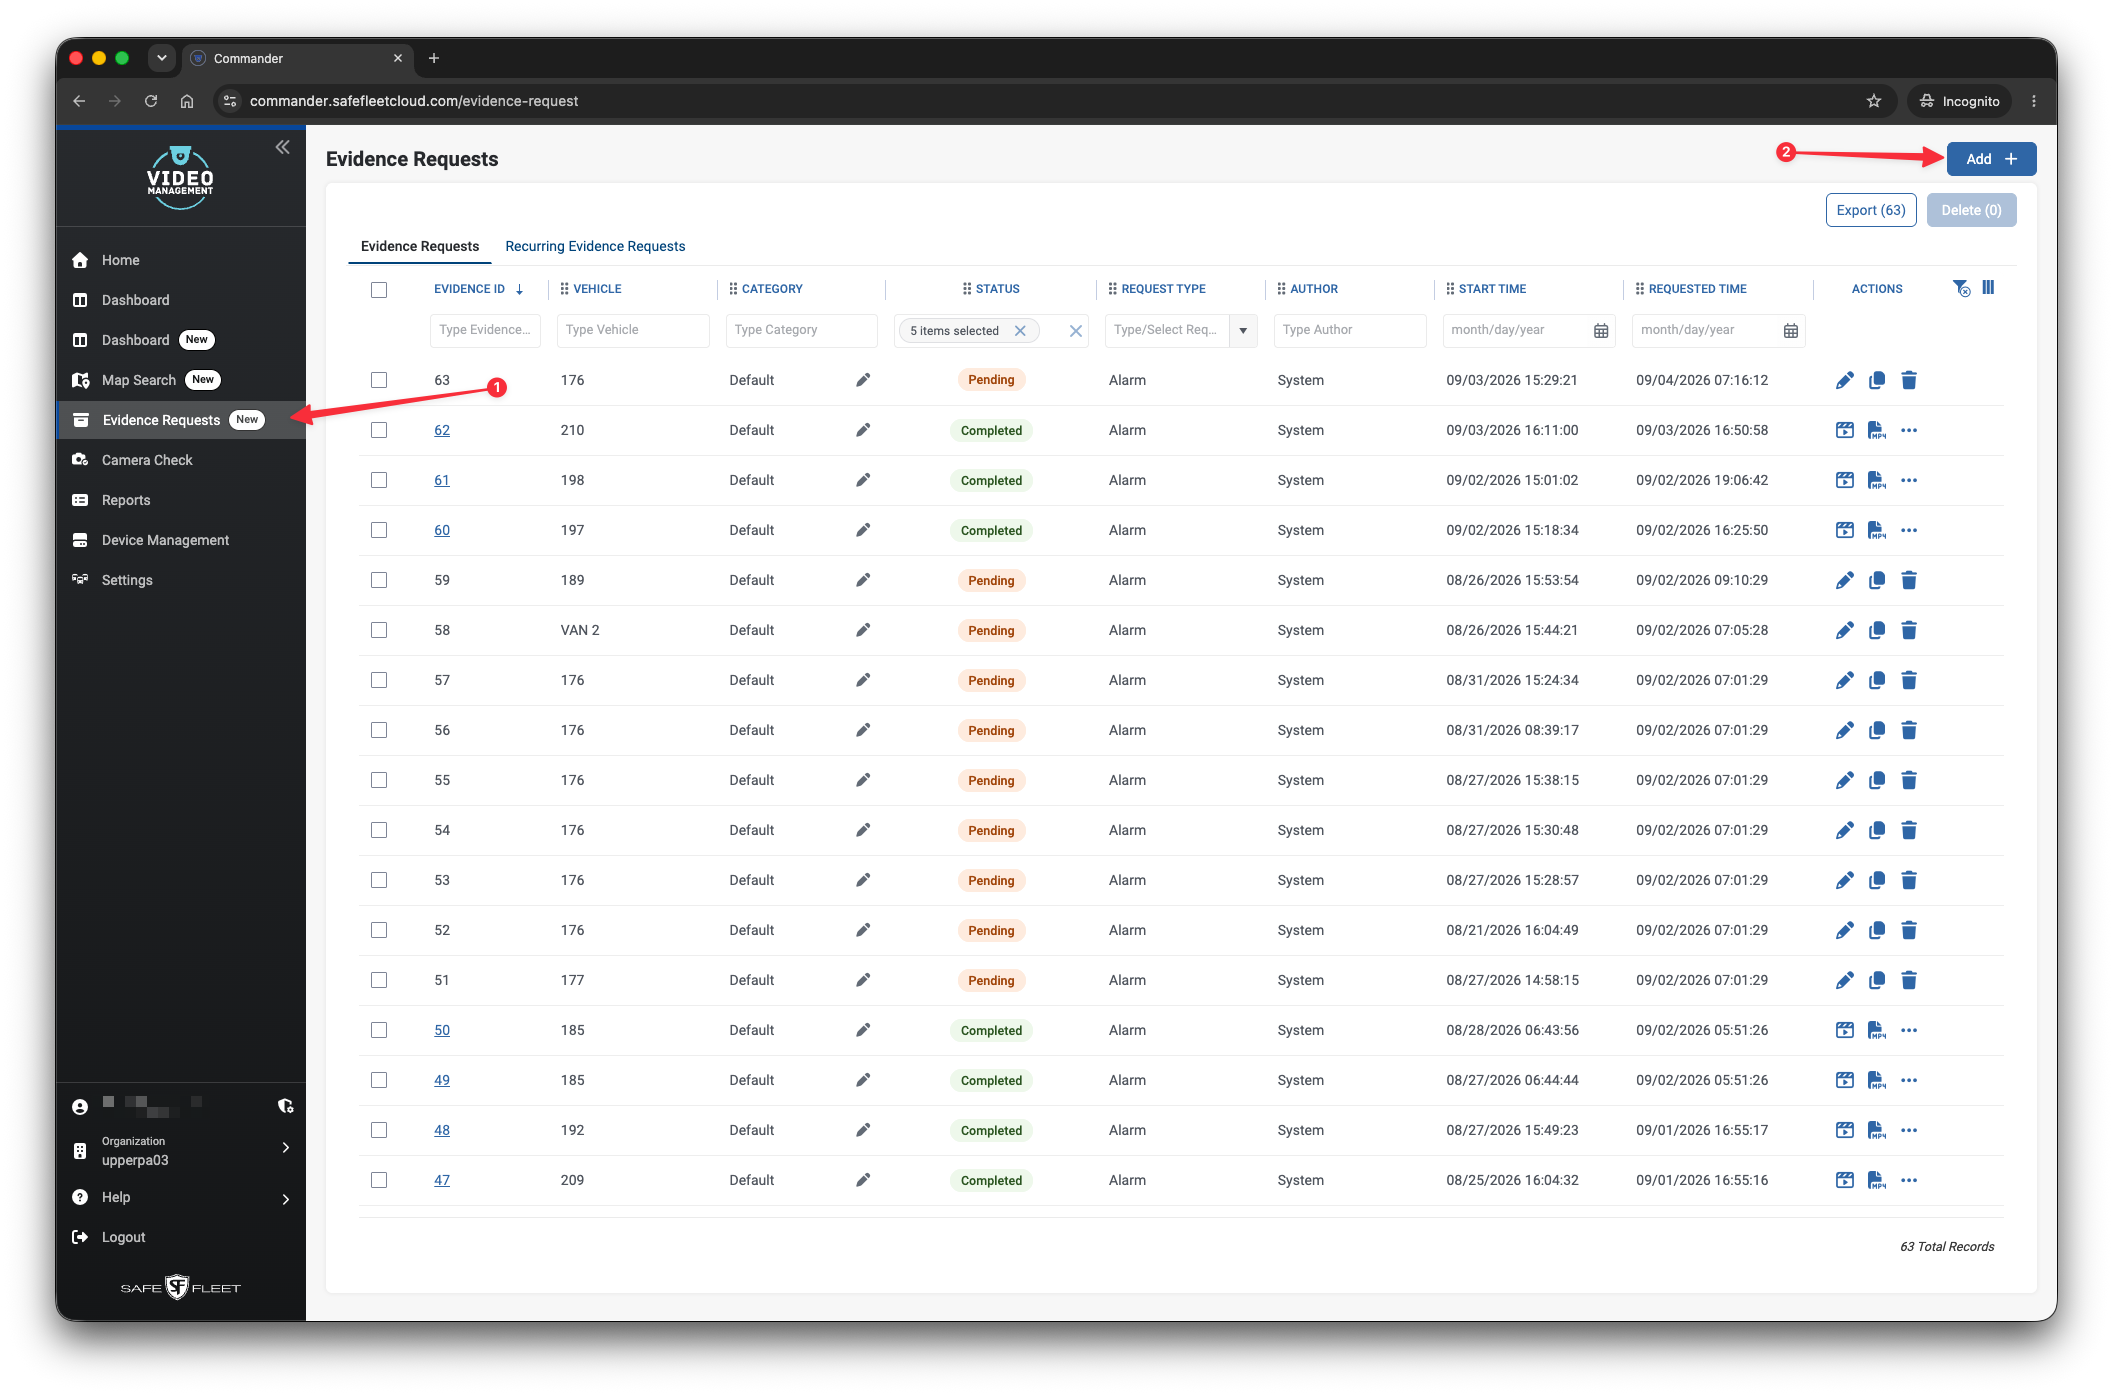
Select Evidence Requests then click the Add button.
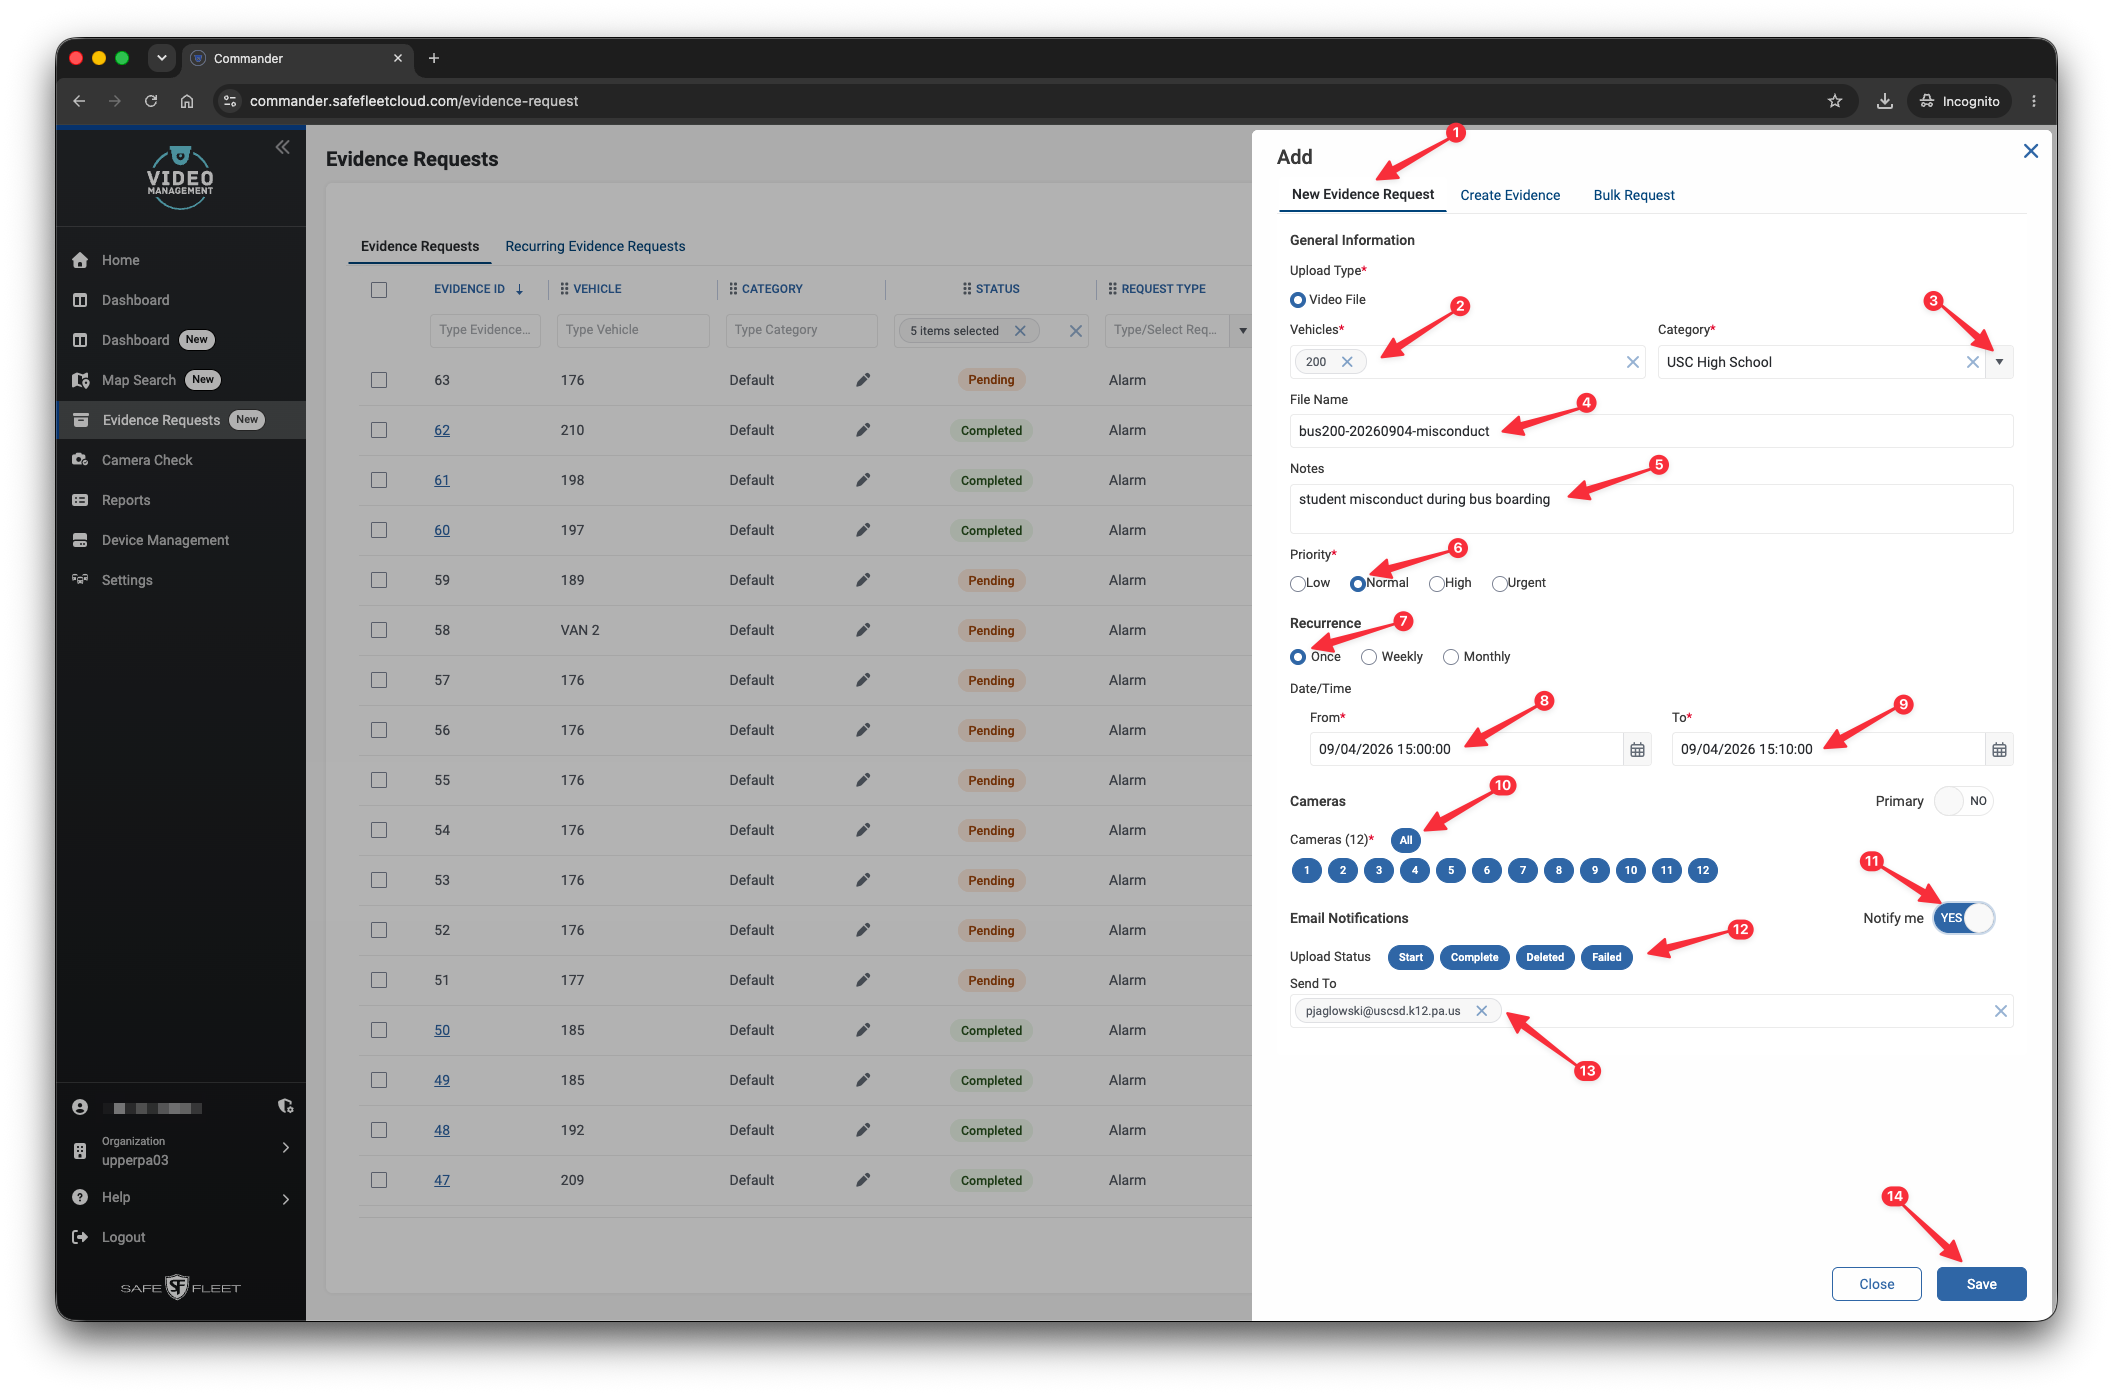
To create a video request, follow these steps:
1. Choose New Evidence Request
2. Enter the vehicle number under Vehicles - each transportation department vehicle is identified by a number printed on multiple areas on the vehicle itself
3. Select a school from the Category list - this selection helps to categorize incidents
4. Name the file that will contain your requested video - we suggest the naming scheme of bus number-date-incident description
5. Optionally, add further description in the Notes field
6. Select a Priority - keeping the default value of normal is recommended
7. Select a Recurrence value - once is the default and scheduling multiple recurrences is available
8. Enter the start date and time for the needed video - note this value is in military time
9. Enter the end date and time for the needed video - note this value is also in military time
10. Select the cameras that captured the needed video - we suggest selecting All, which allows you to later search all vehicle cameras for incident capture
11. Turn Notify me on, which ensures you receive an email during each stage of the video discovery process
12. Click on each Update Status button Start, Complete, Deleted, Failed, in order to receive an email message for each status that may ocurr
13. Ensure that your email address is included in the Send To field
14. Click the Save button
Your evidence request should show in the Evidence Requests listing. Note the status of your request - our example request is shown as Pending.
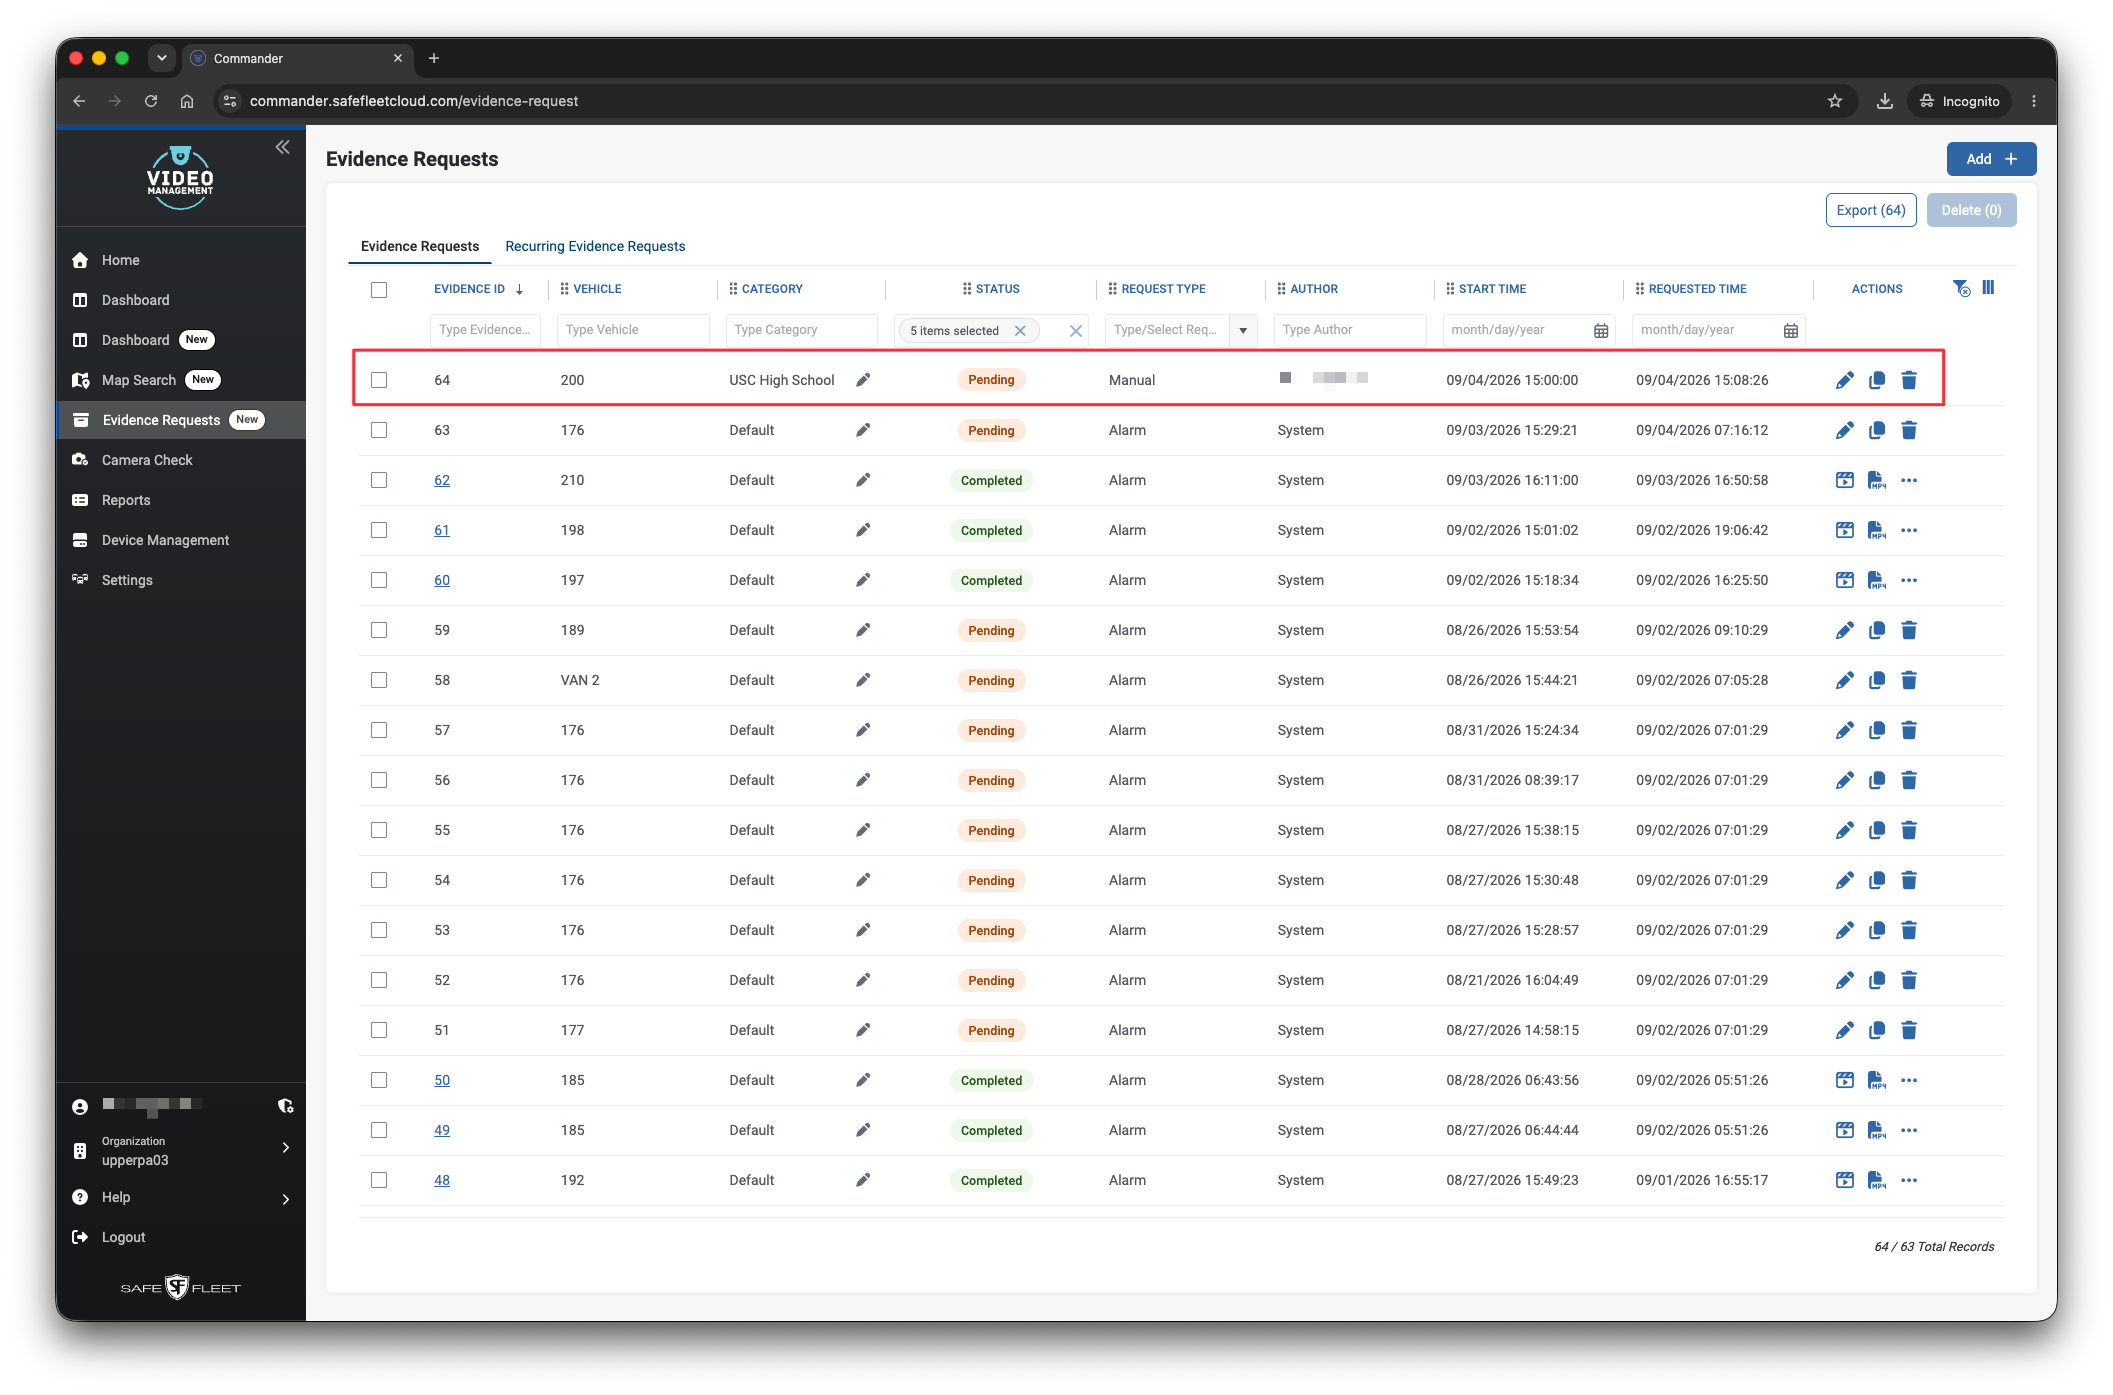
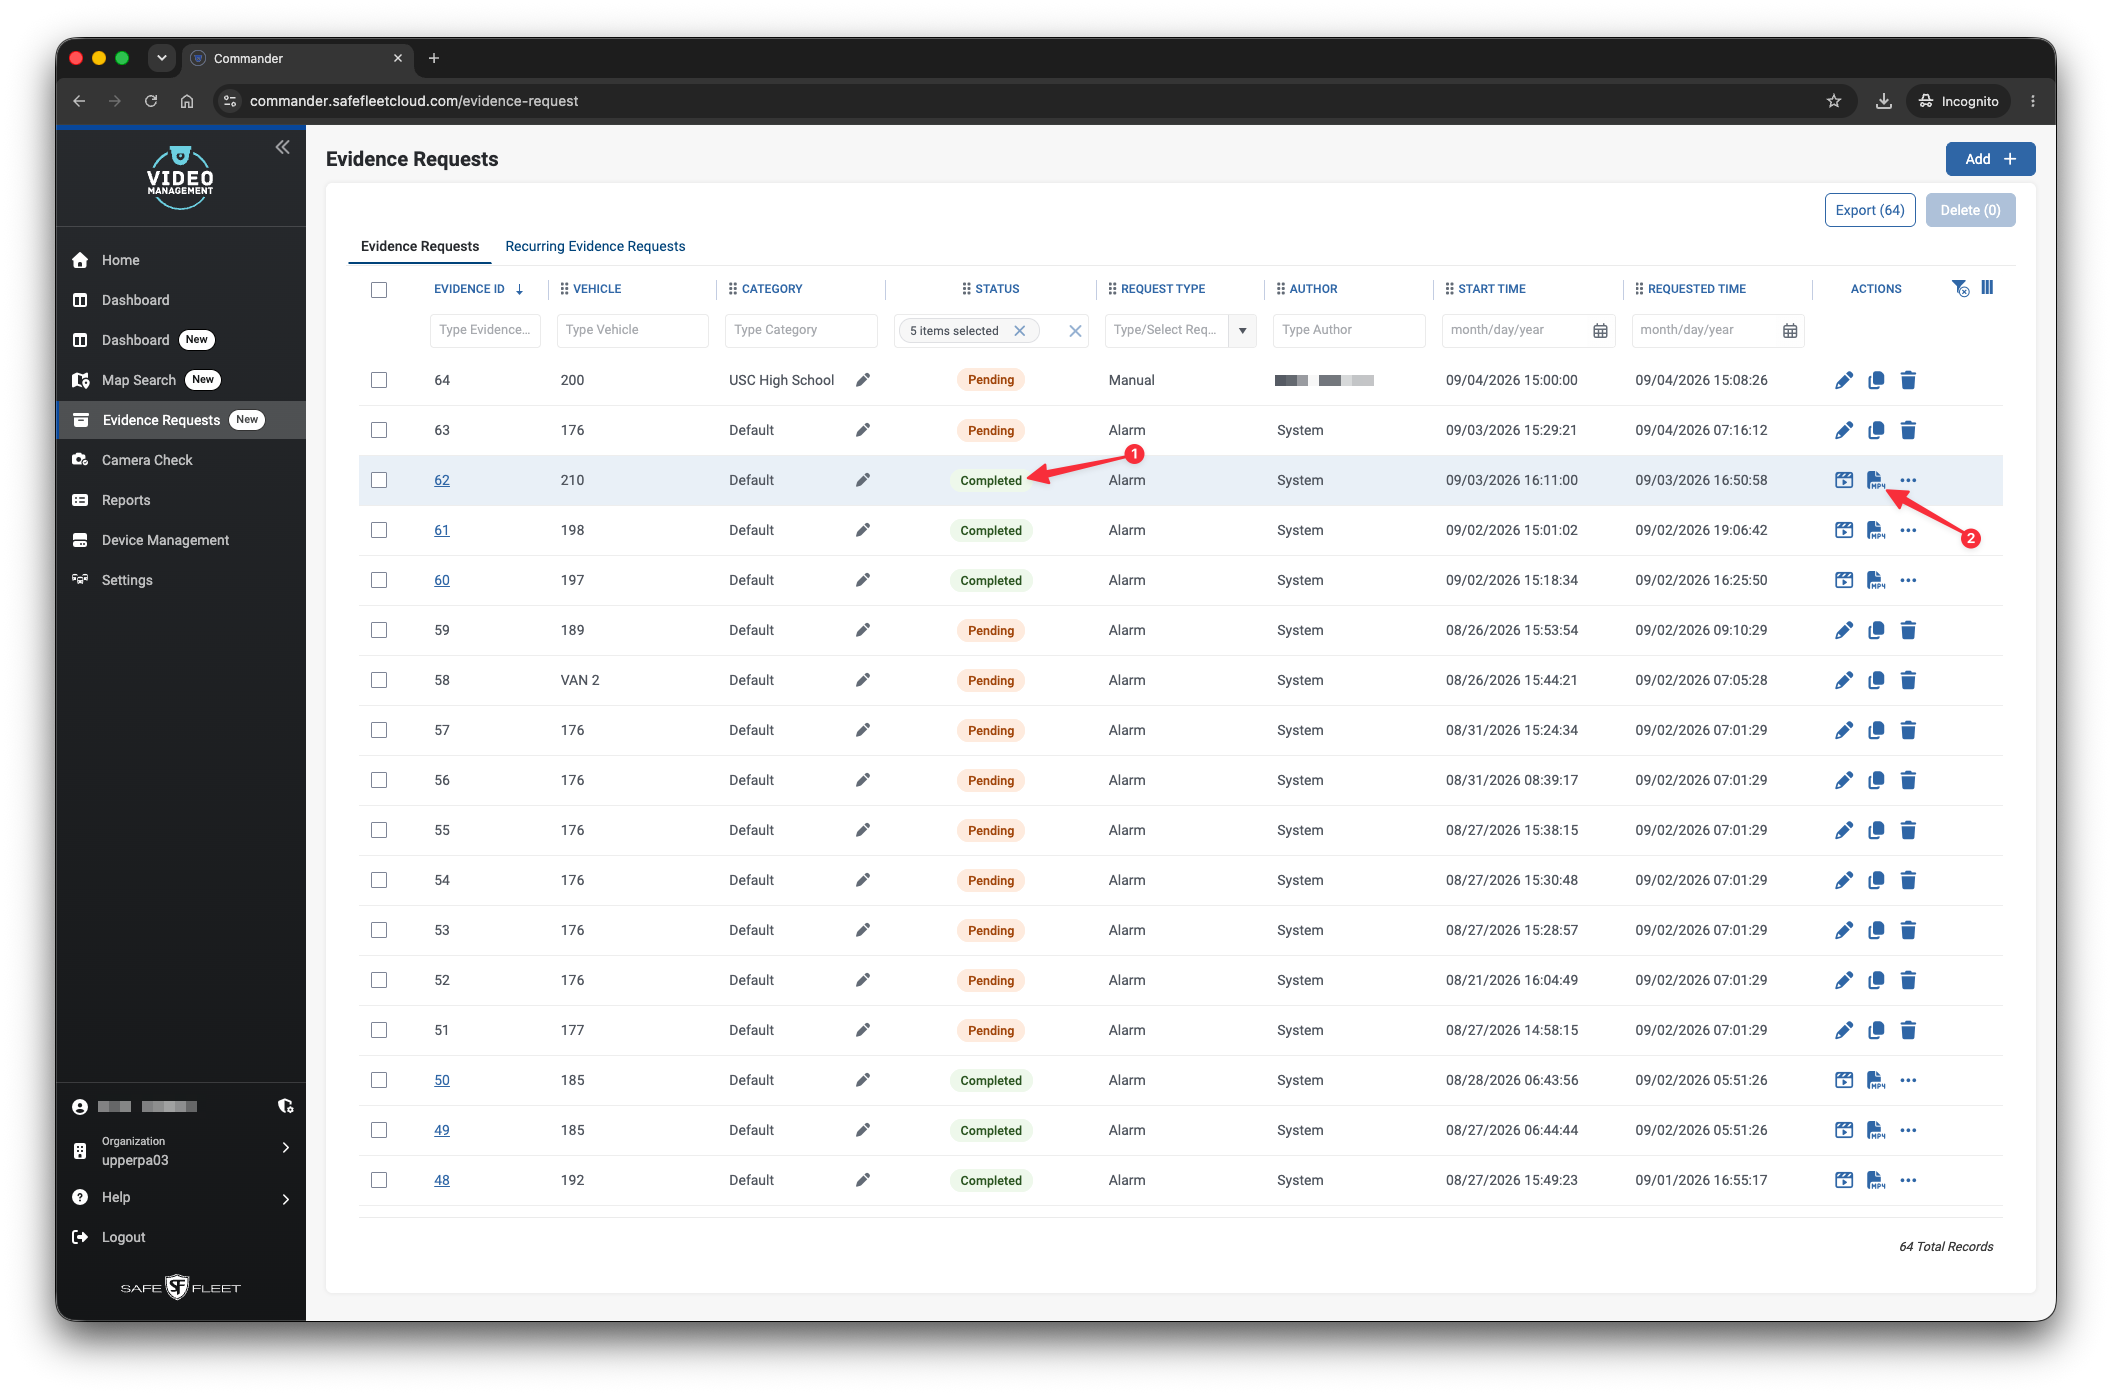
You can review requested video once you receive an email stating that your request is complete, or when checking the Evidence Requests listing shows your request is complete.
The request below is shown as Completed - note the small MP4 icon. Click this icon to review video.
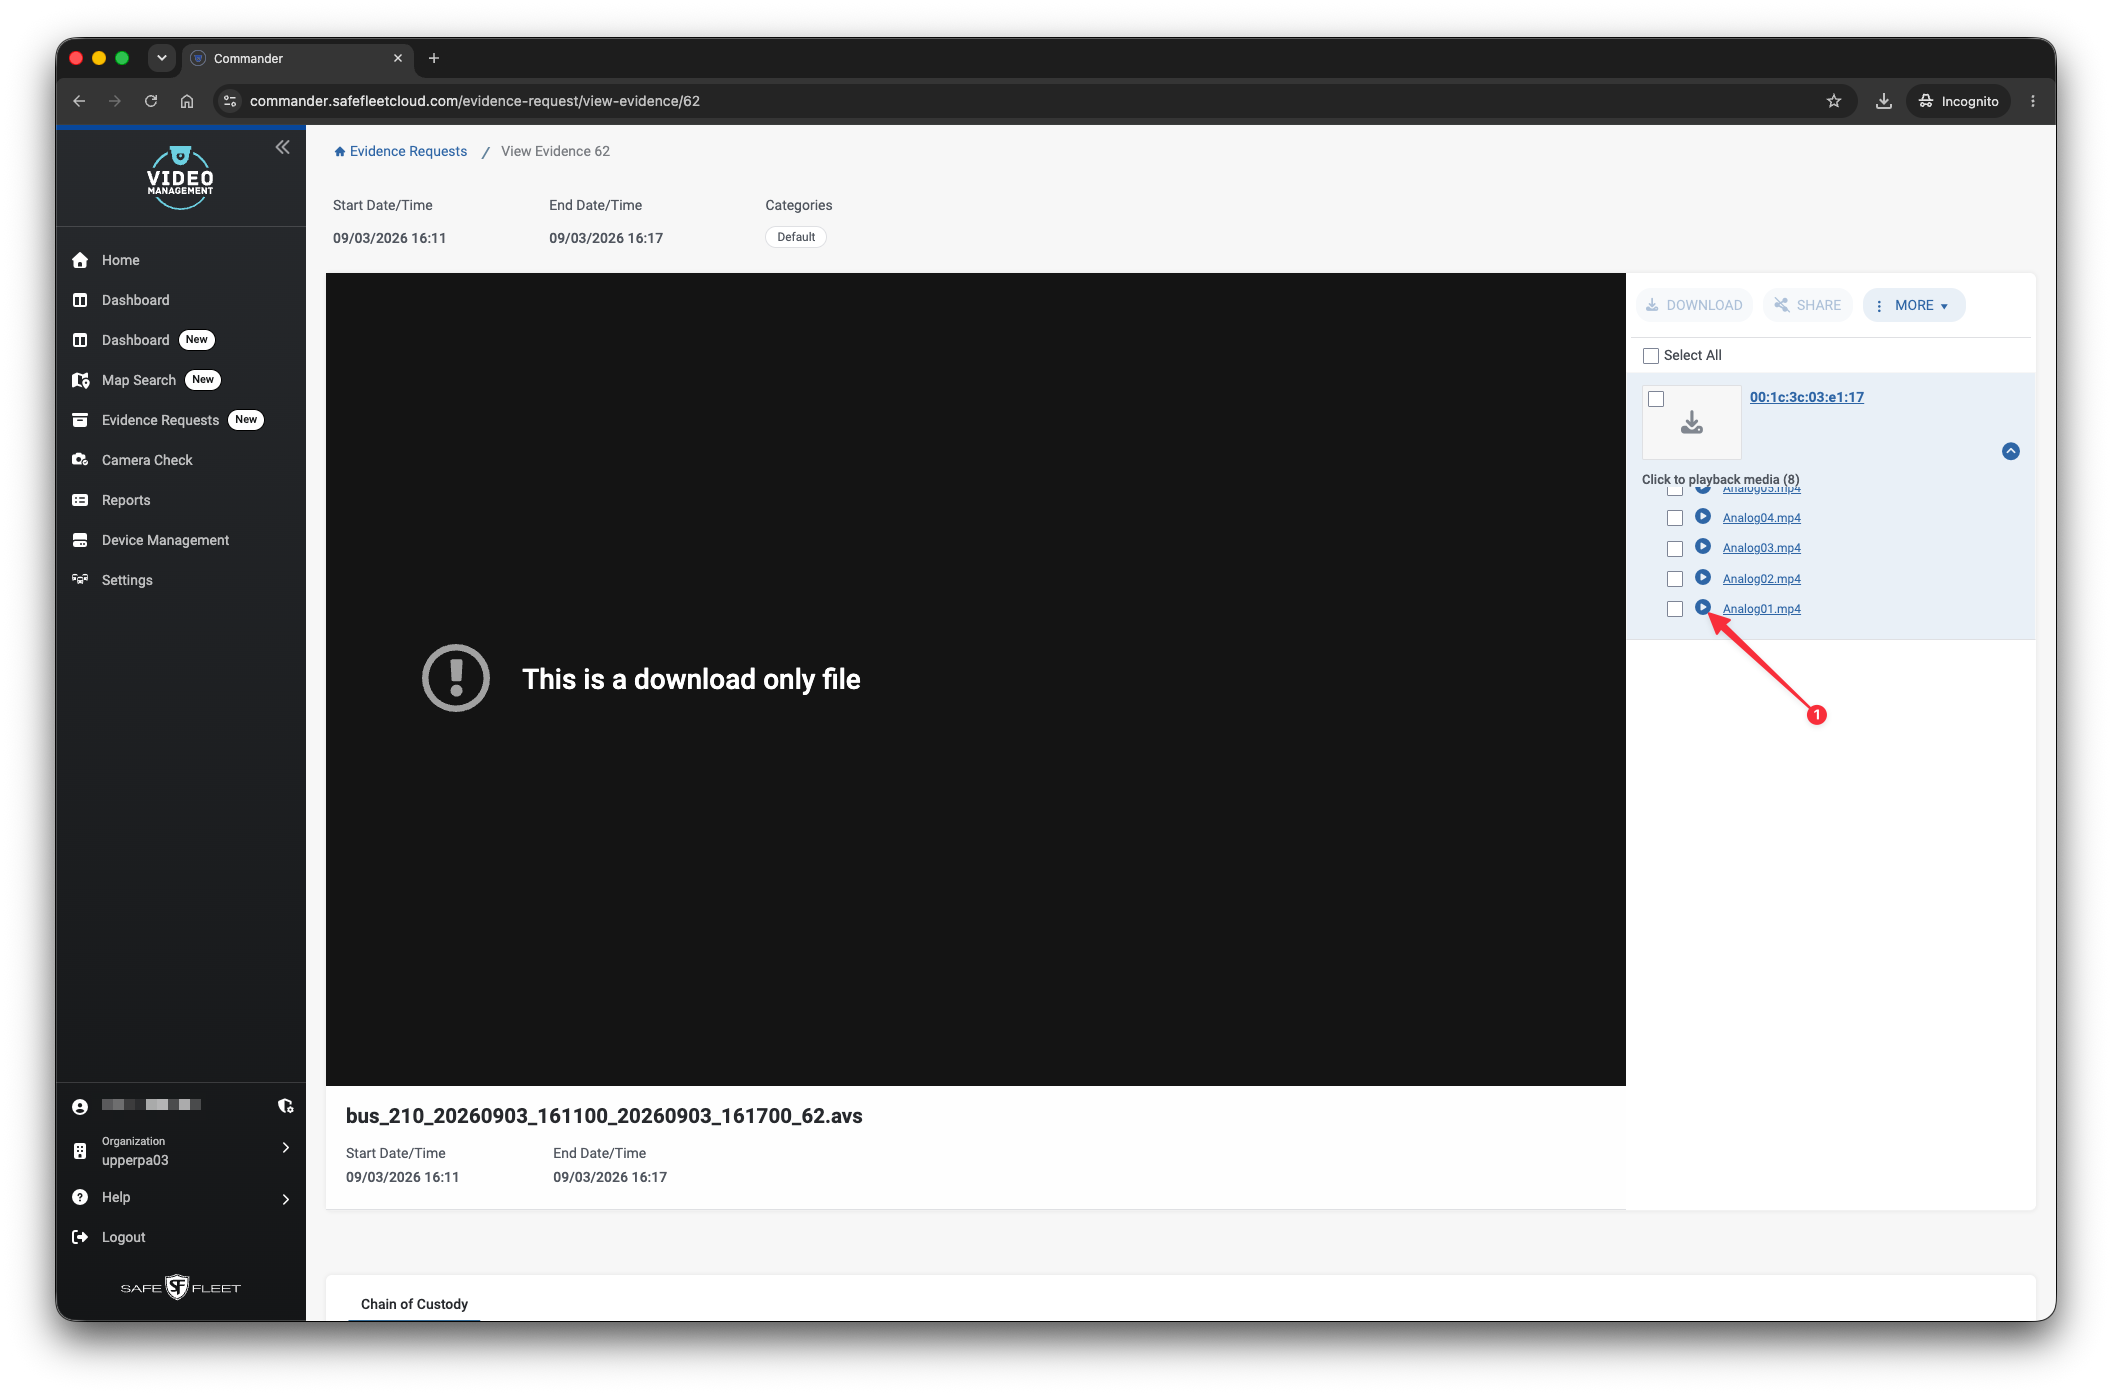
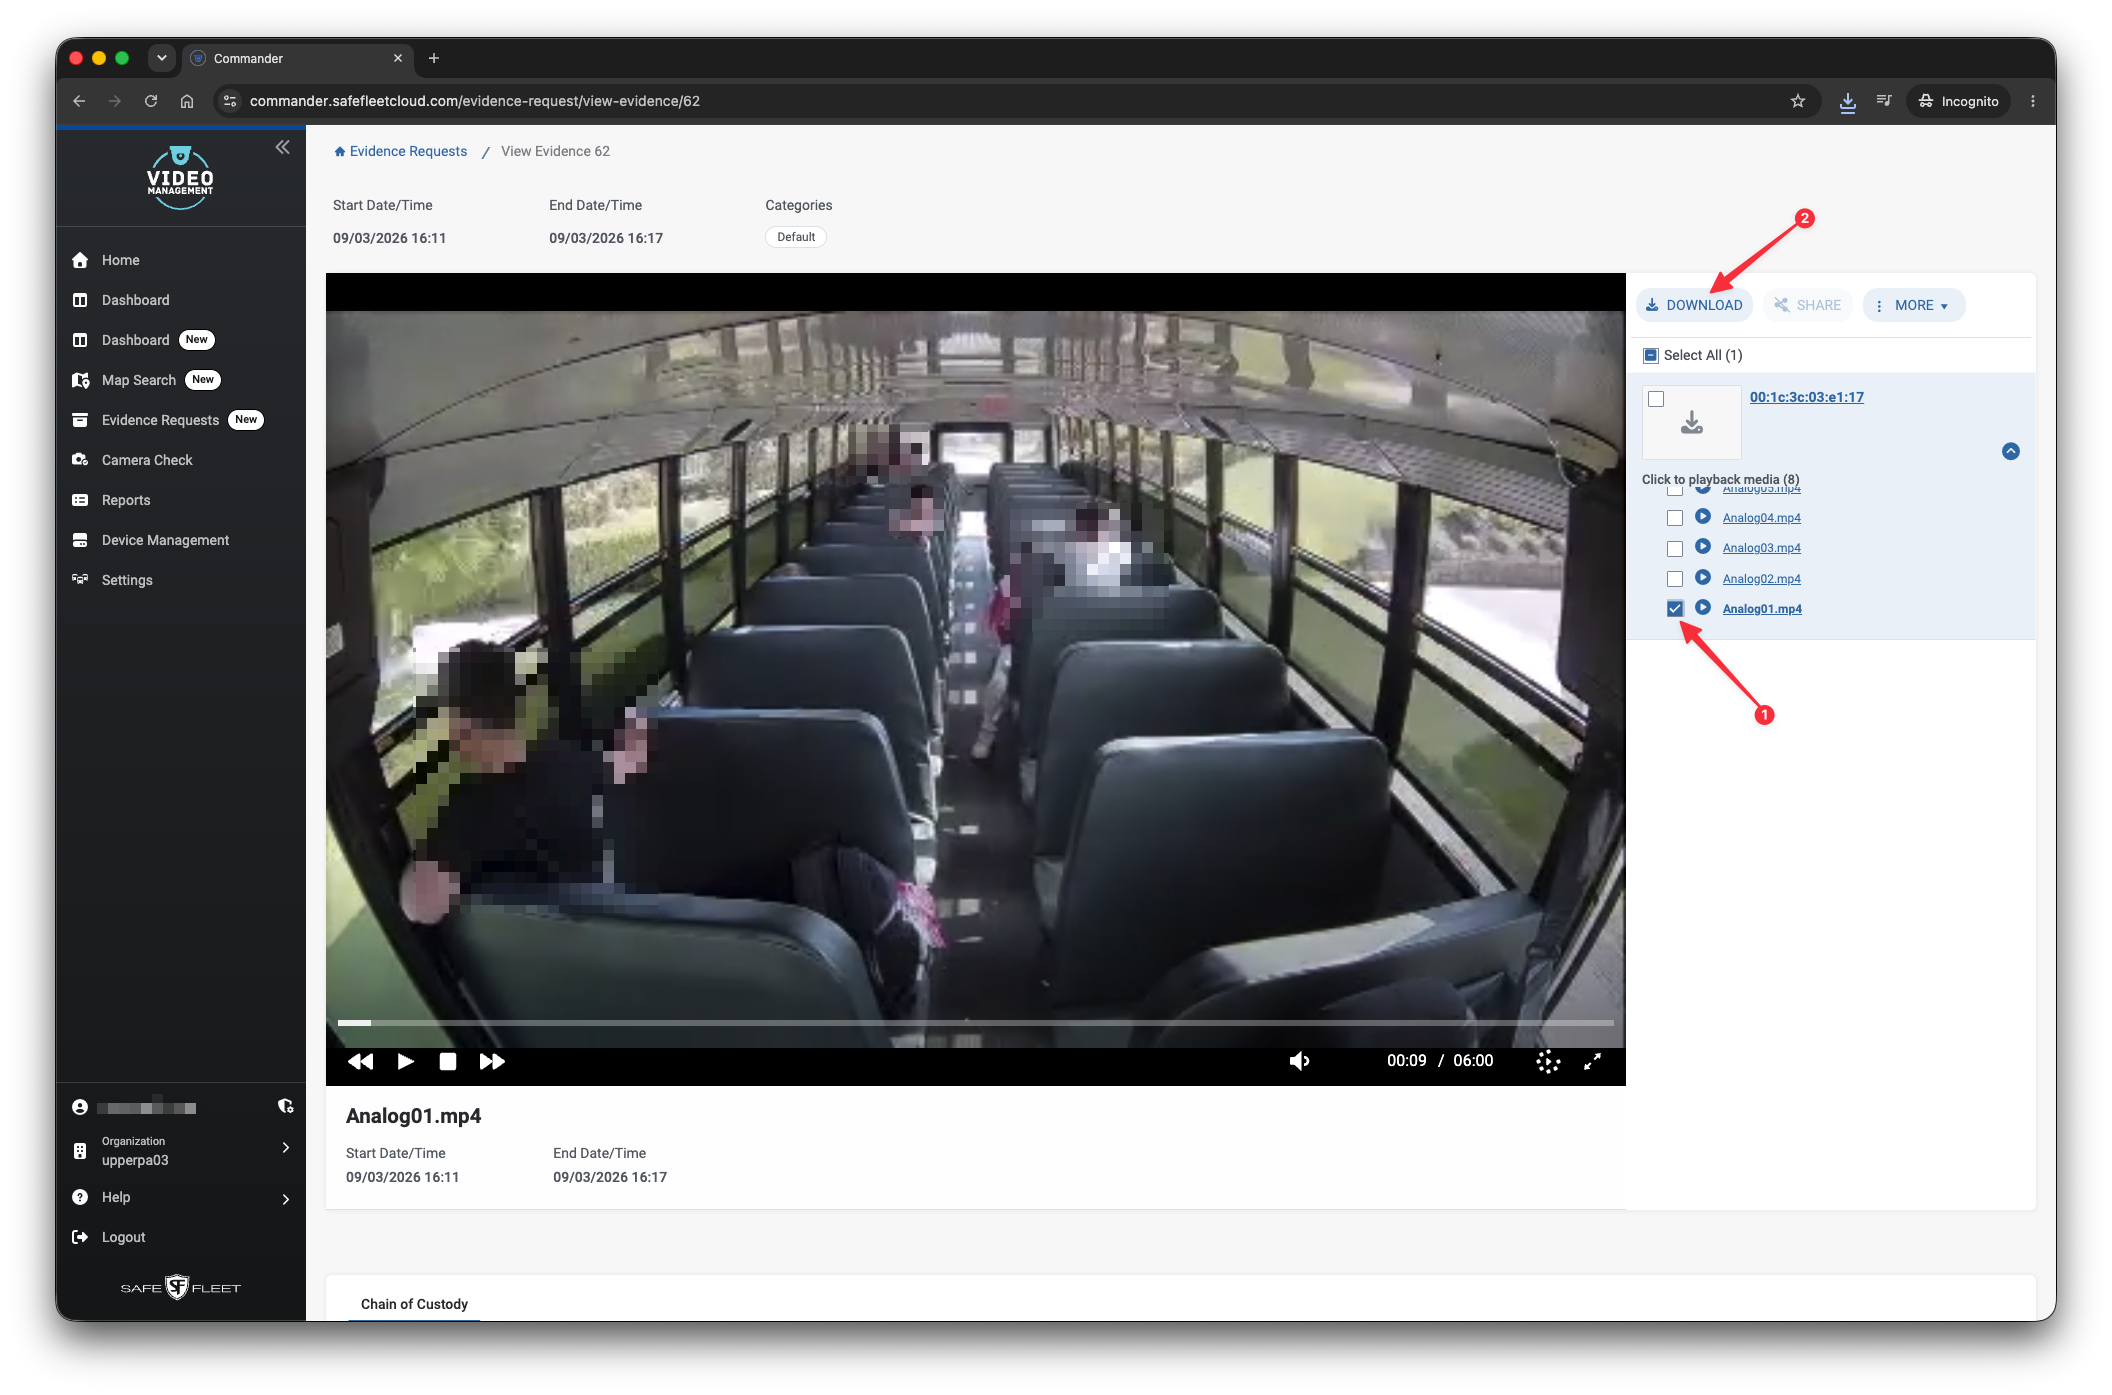
All vehicle cameras are listed as Analog01, Analog02, Analog03, etc. Clicking the small play icon next to the associated camera will open that camera's video for review.
In this example, Analog01 video is being reviewed. Note the video control bar (pause, stop, fast forward, rewind) and the time stamp, all of which help in evidence discovery.
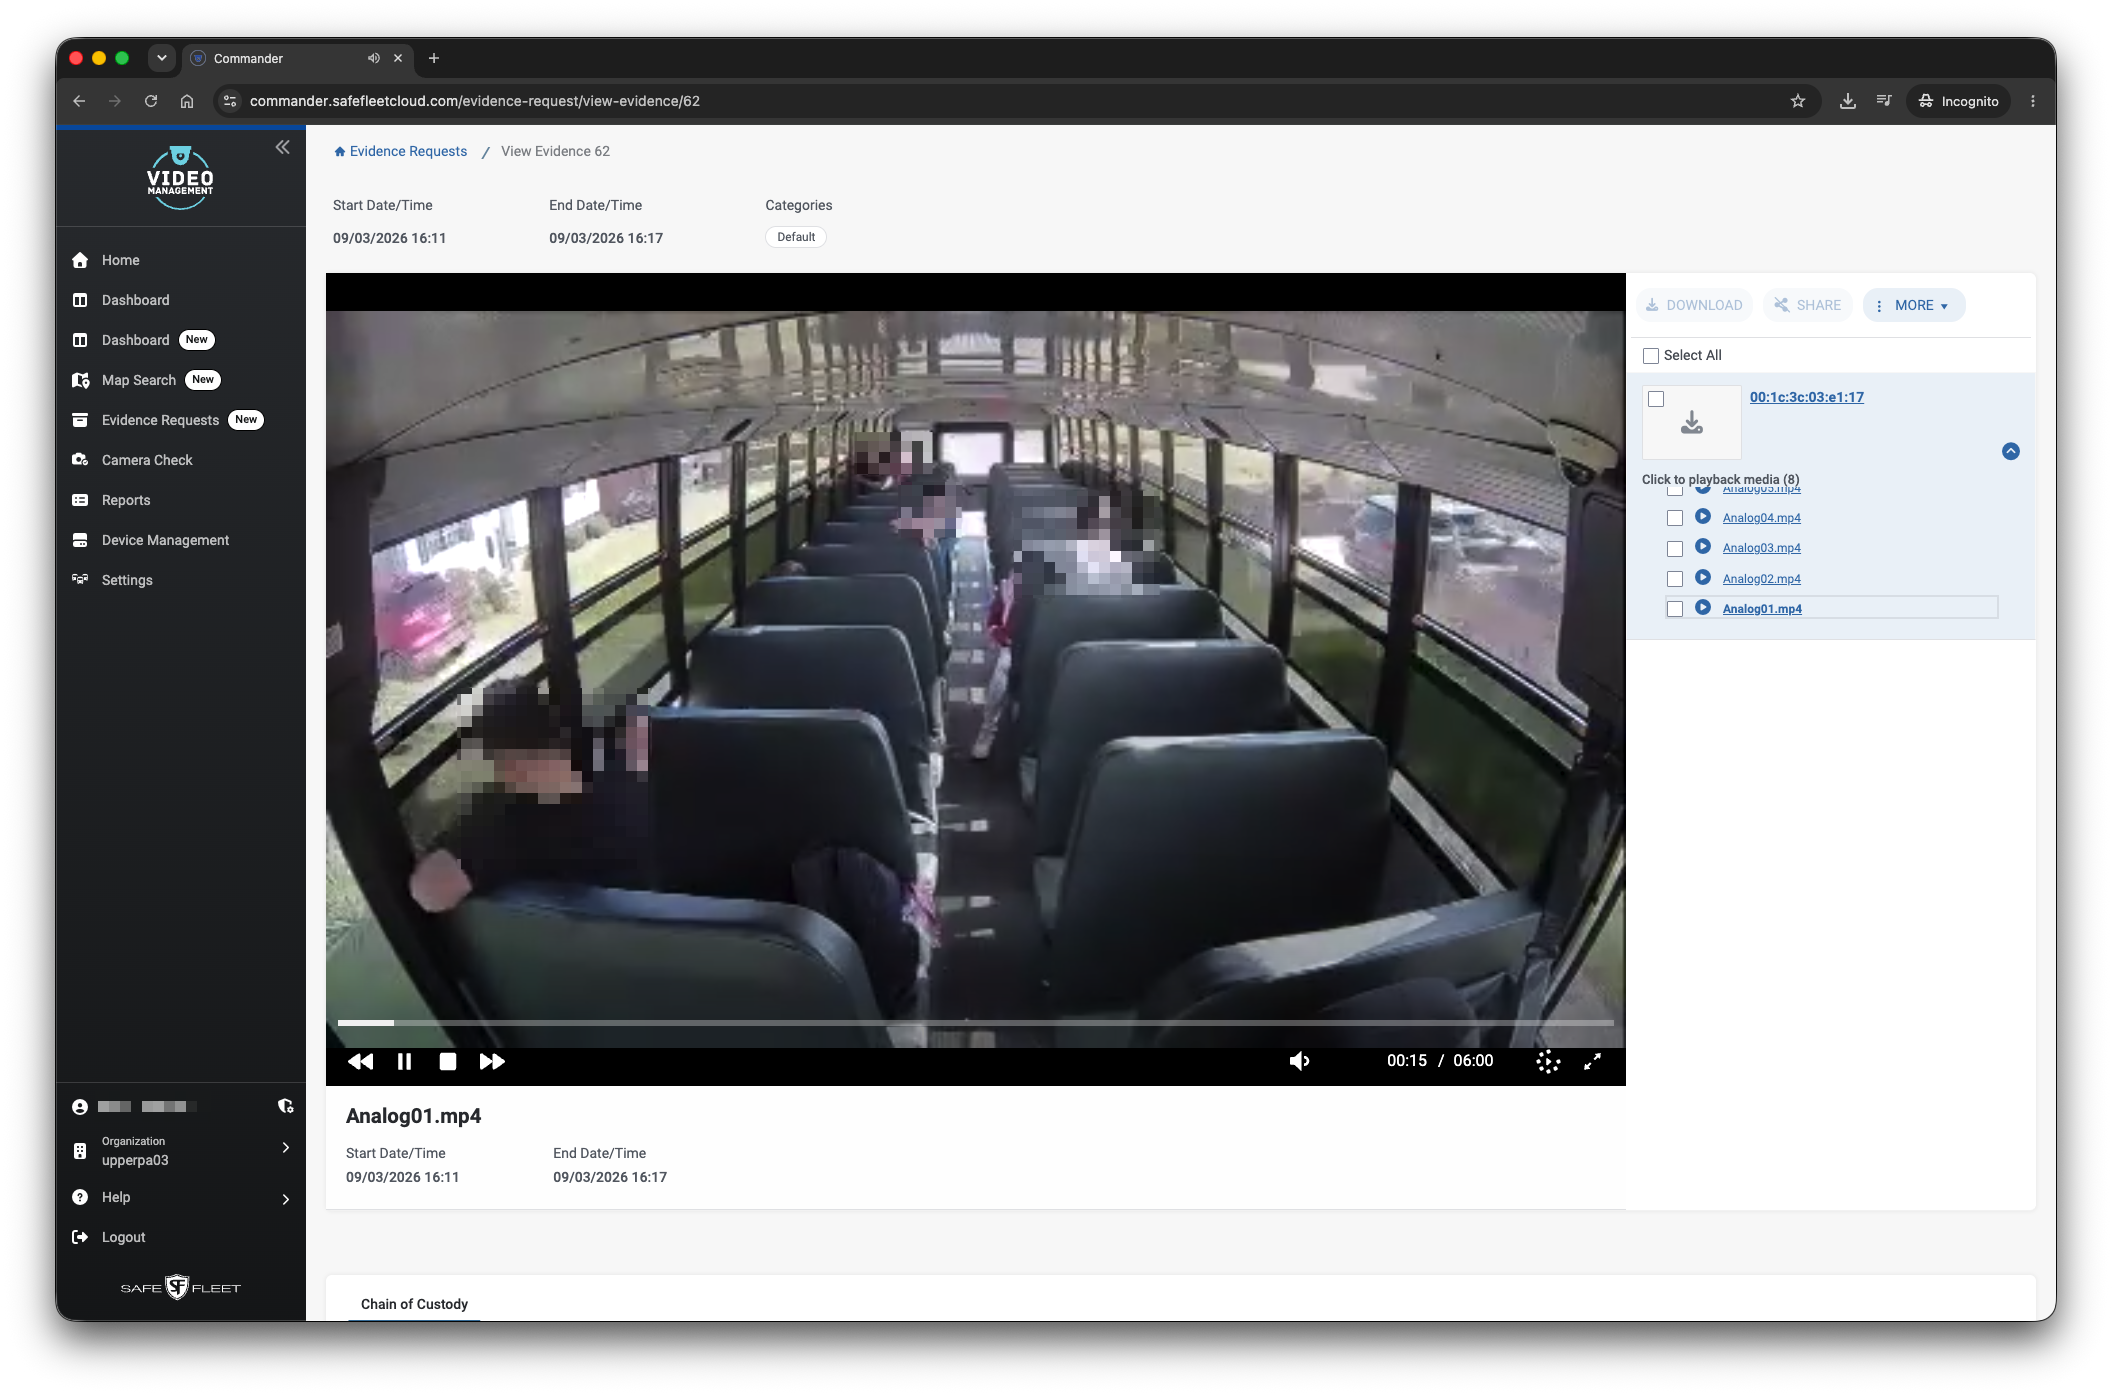
When the camera video needed is identified, check the box next to the associated camera, then click the Download button.
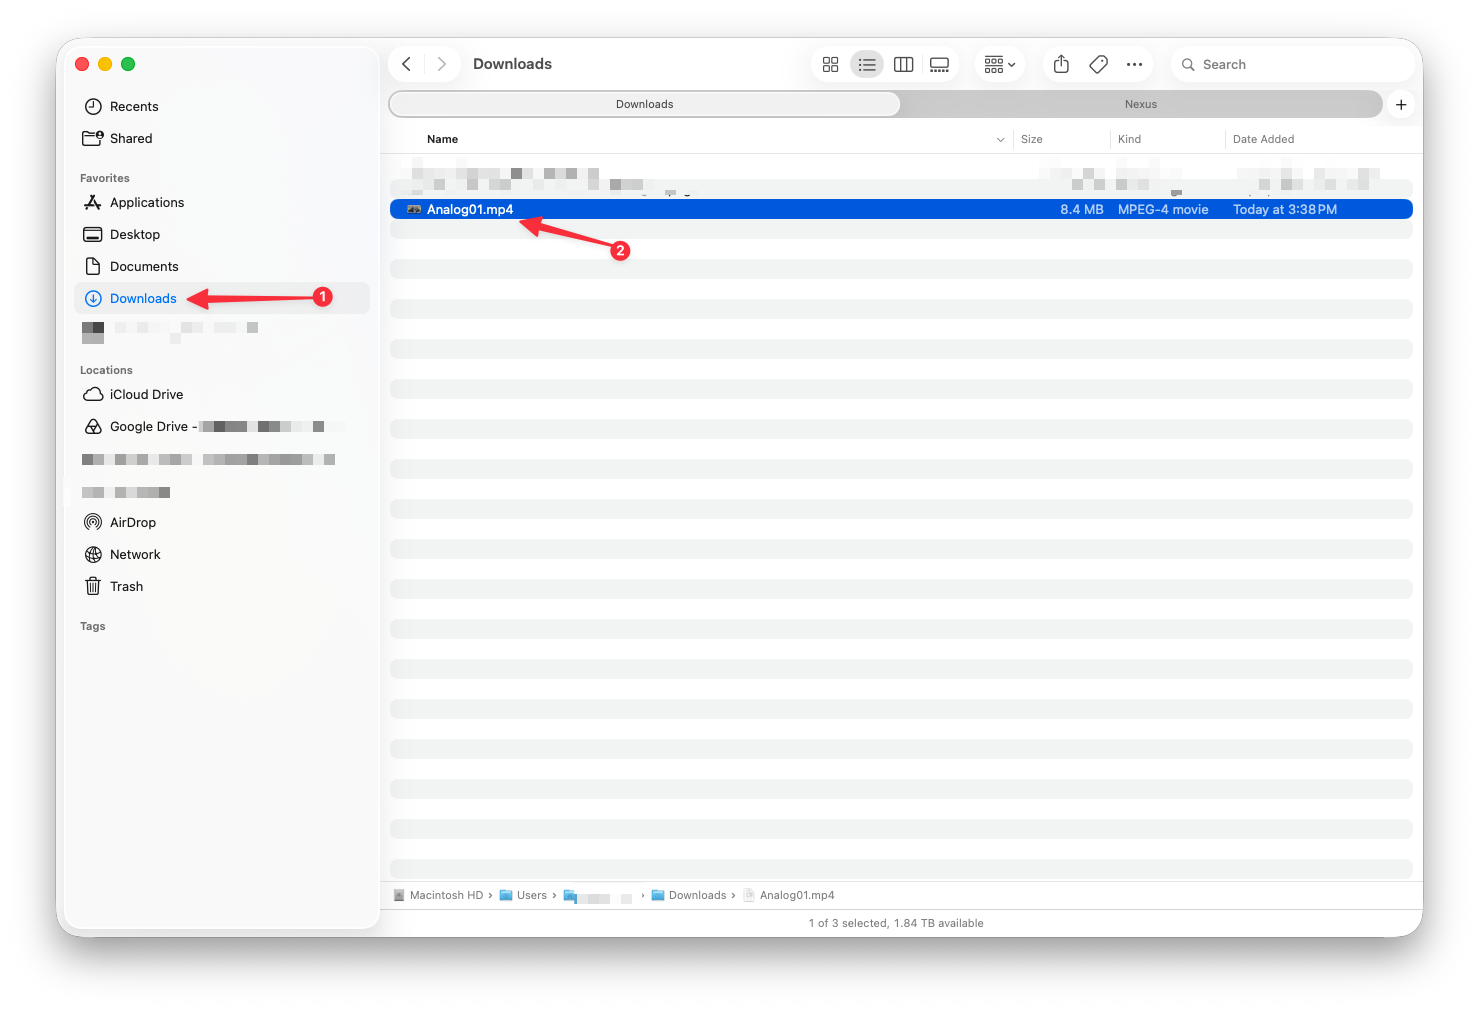
The MP4 file containing your video is downloaded to your Mac's Downloads folder. This file will open in Quicktime Player or any other software installed on your Mac that handles MP4 files.
If the incident video needs to be saved and/or shared, go to Staff Links and click the Security Footage link.
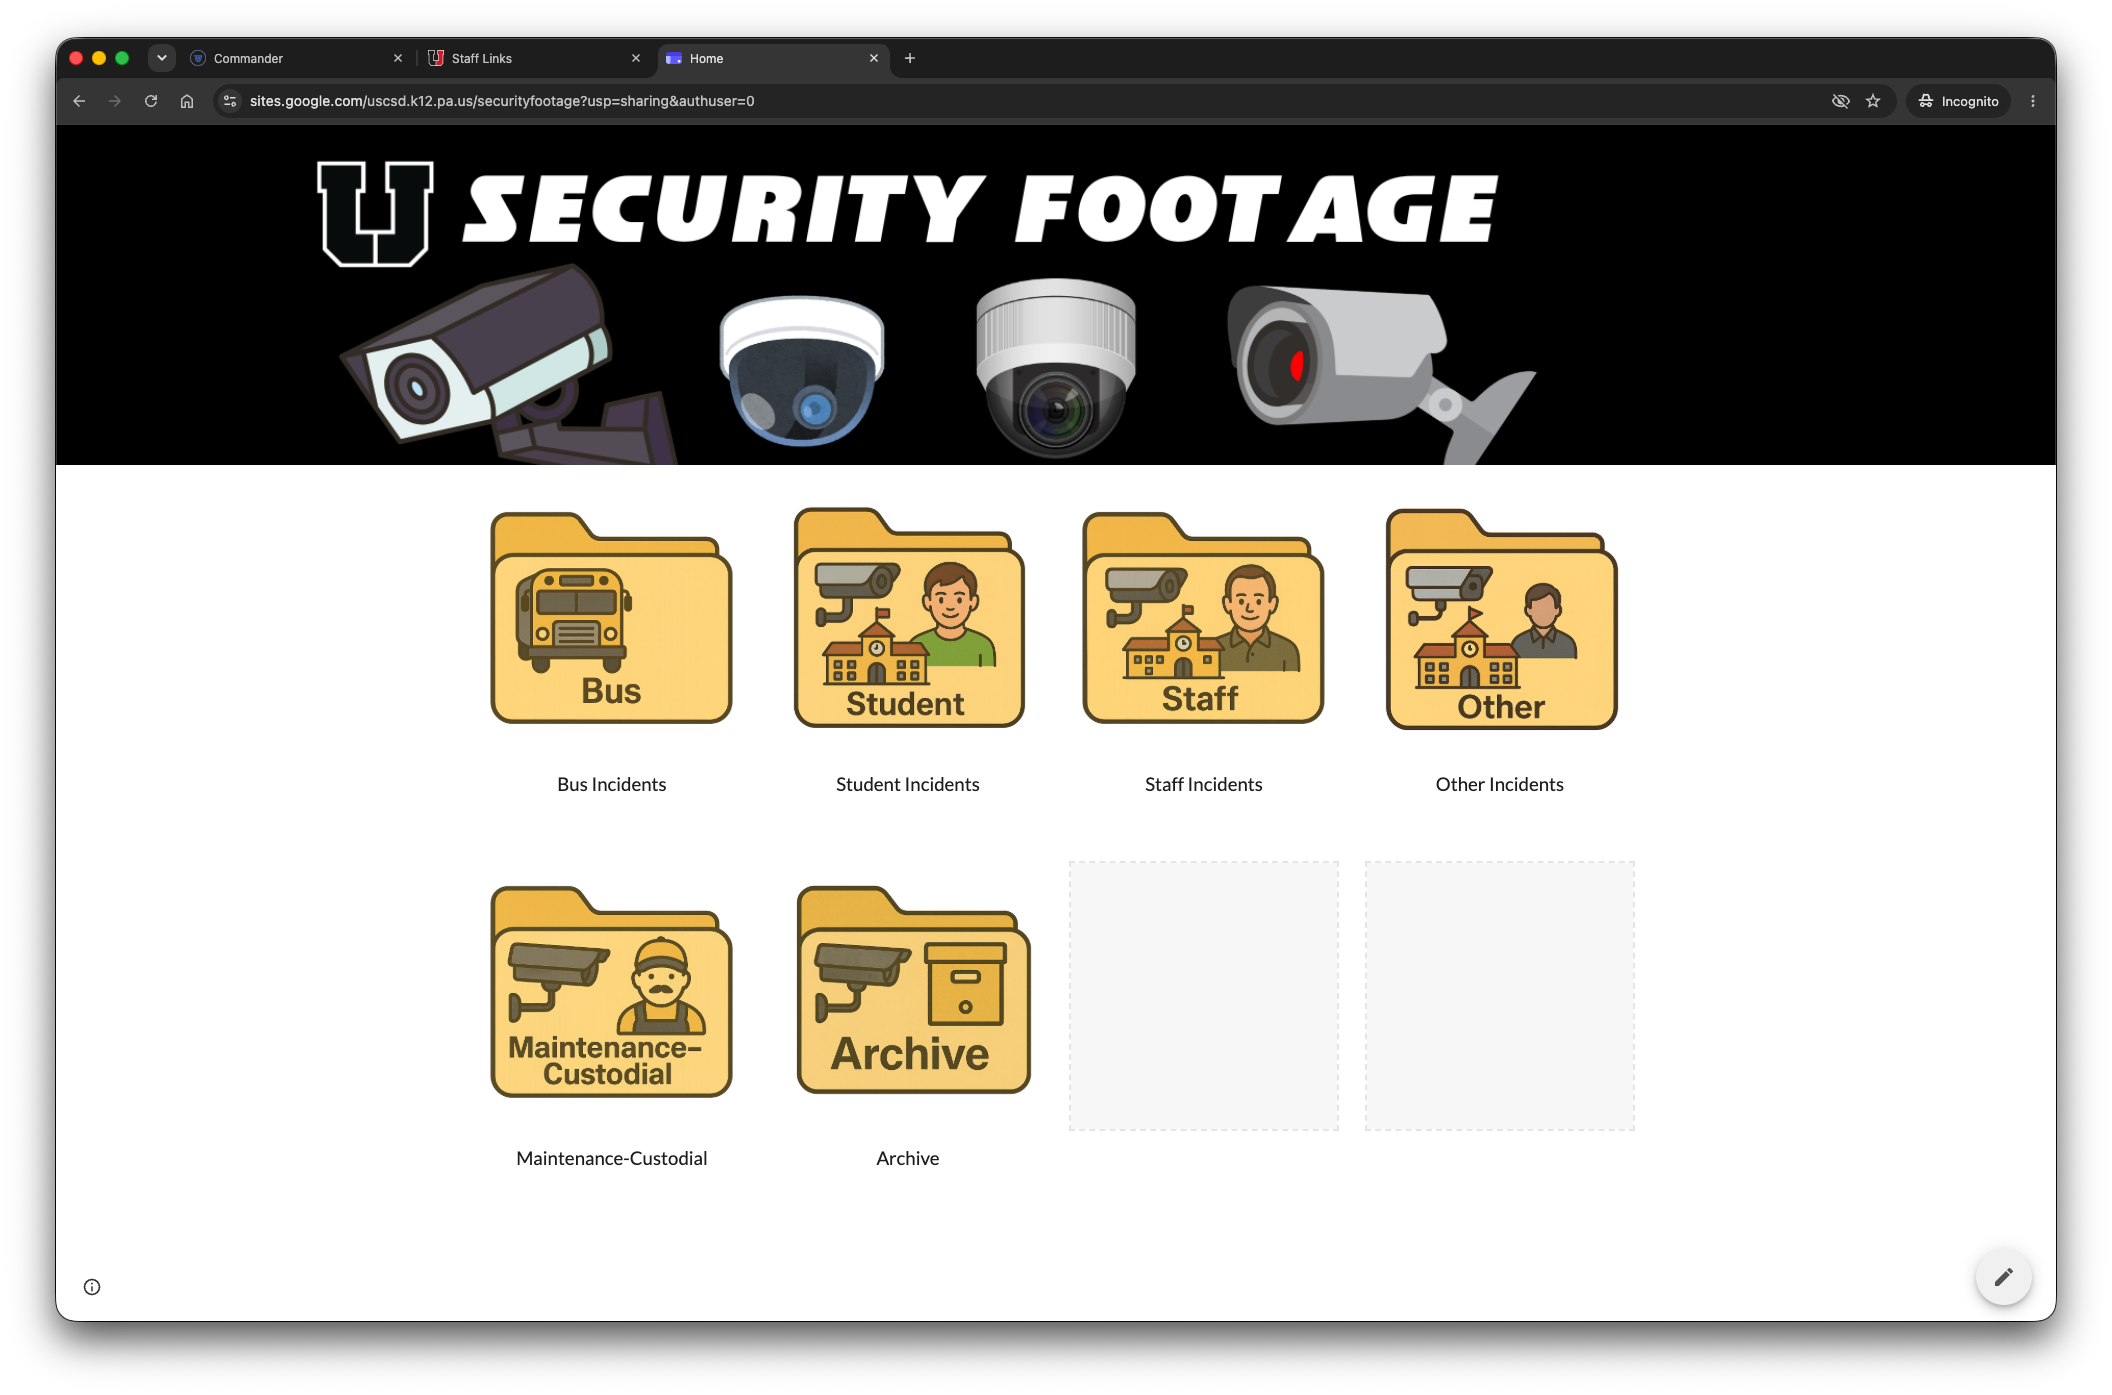
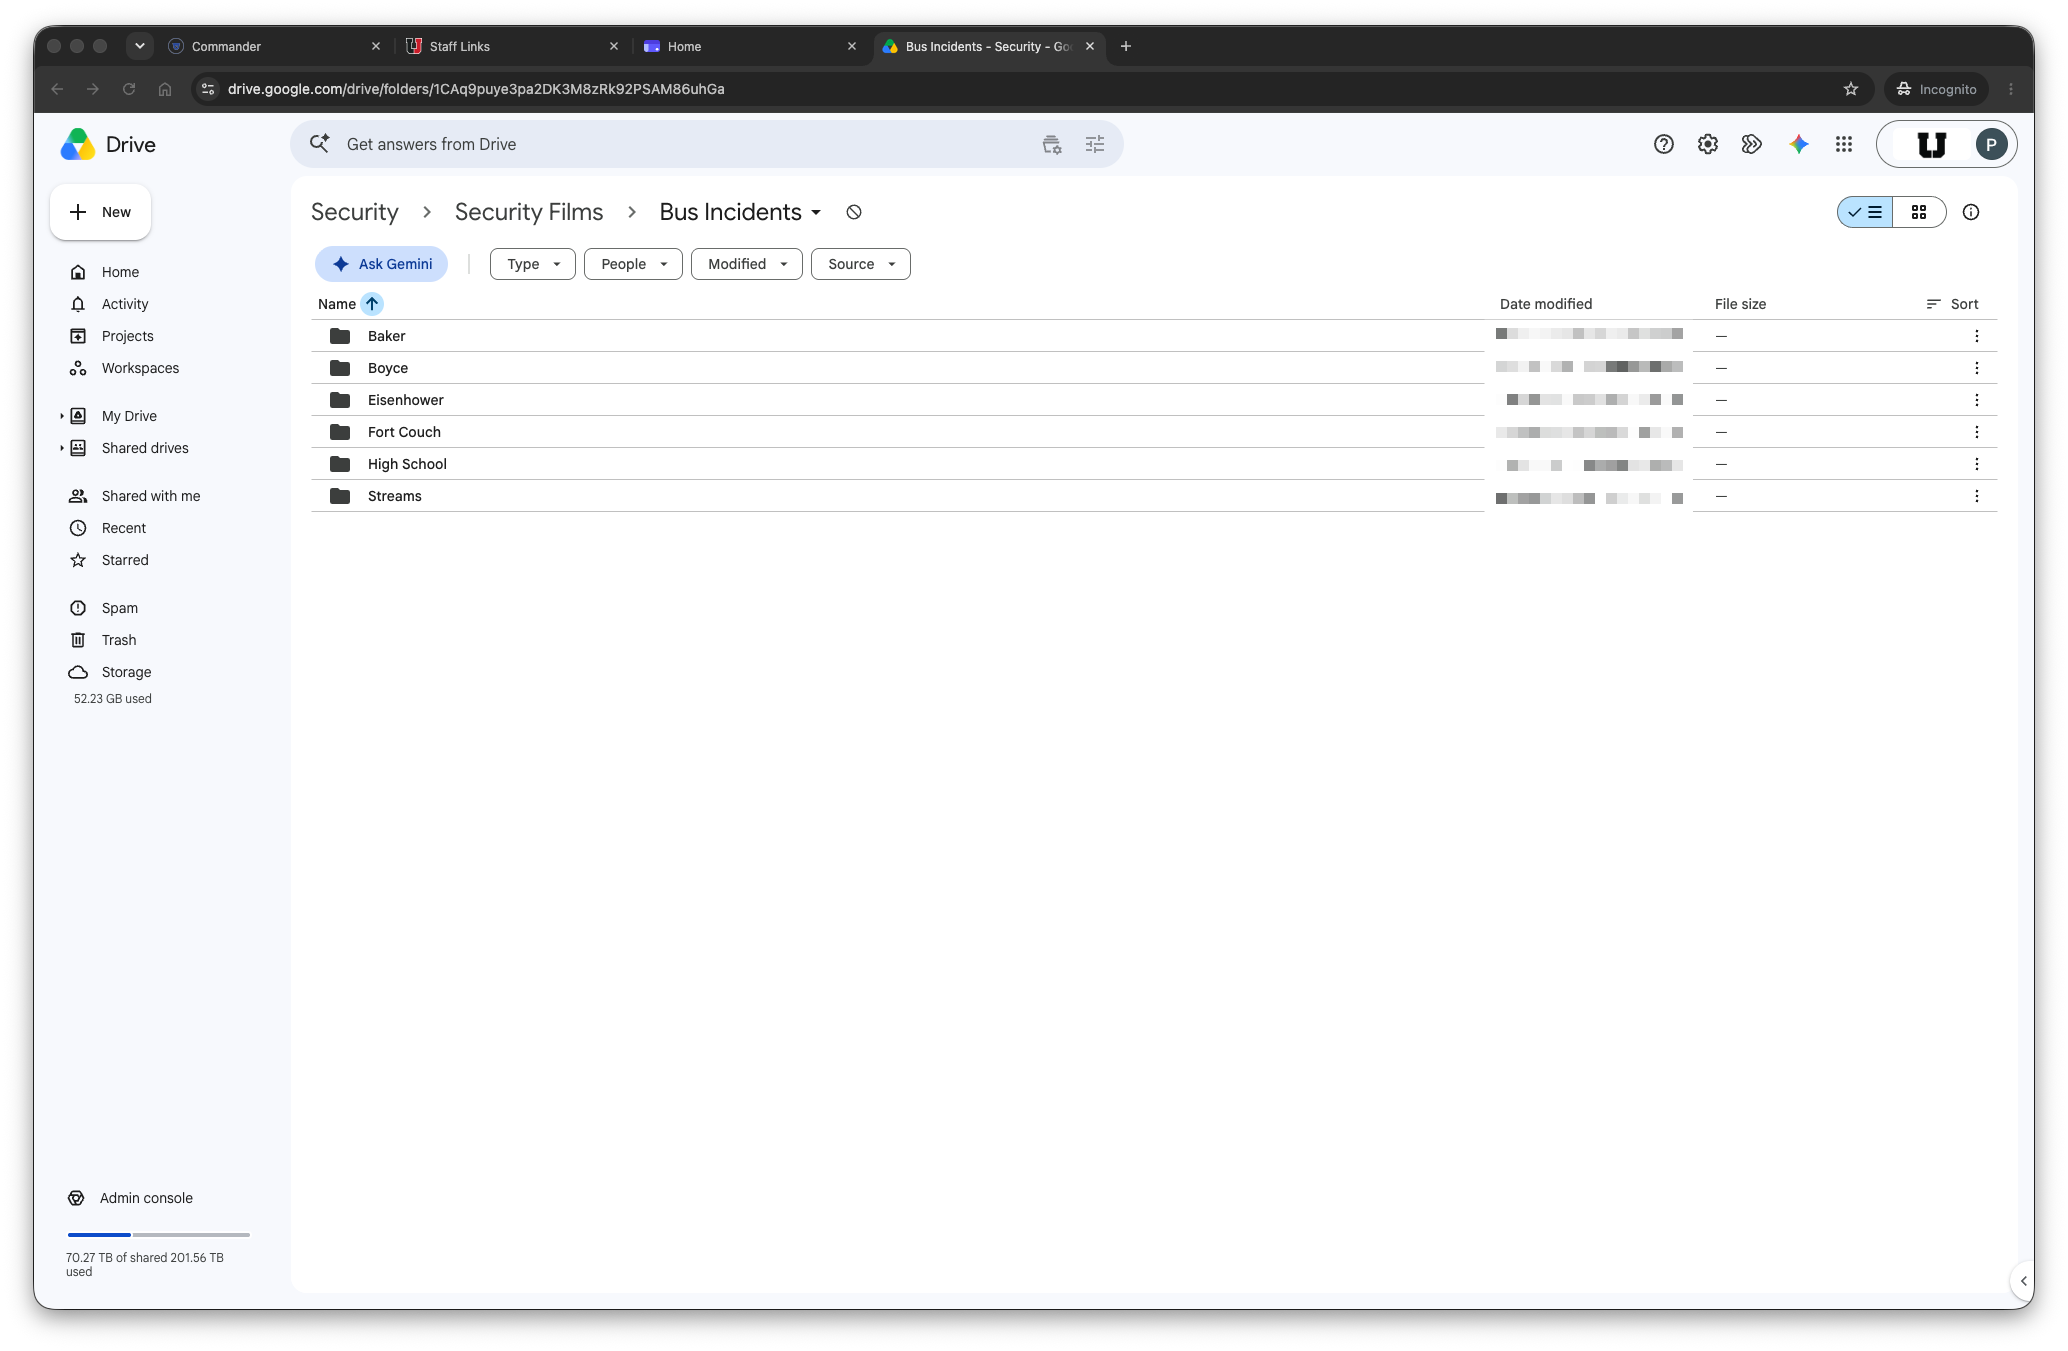
The Security Footage page contains folders that provide order to district video files. In our example, a USC High School student misconduct issue aboard a bus, the downloaded video should be placed in the Bus Incidents folder.
Note the other folders, each includes a video camera icon. These folders are intended to store video from building surveillance cameras.
Within the Bus Incidents folder is a folder for each school. Our example video file should be placed in the High School folder.
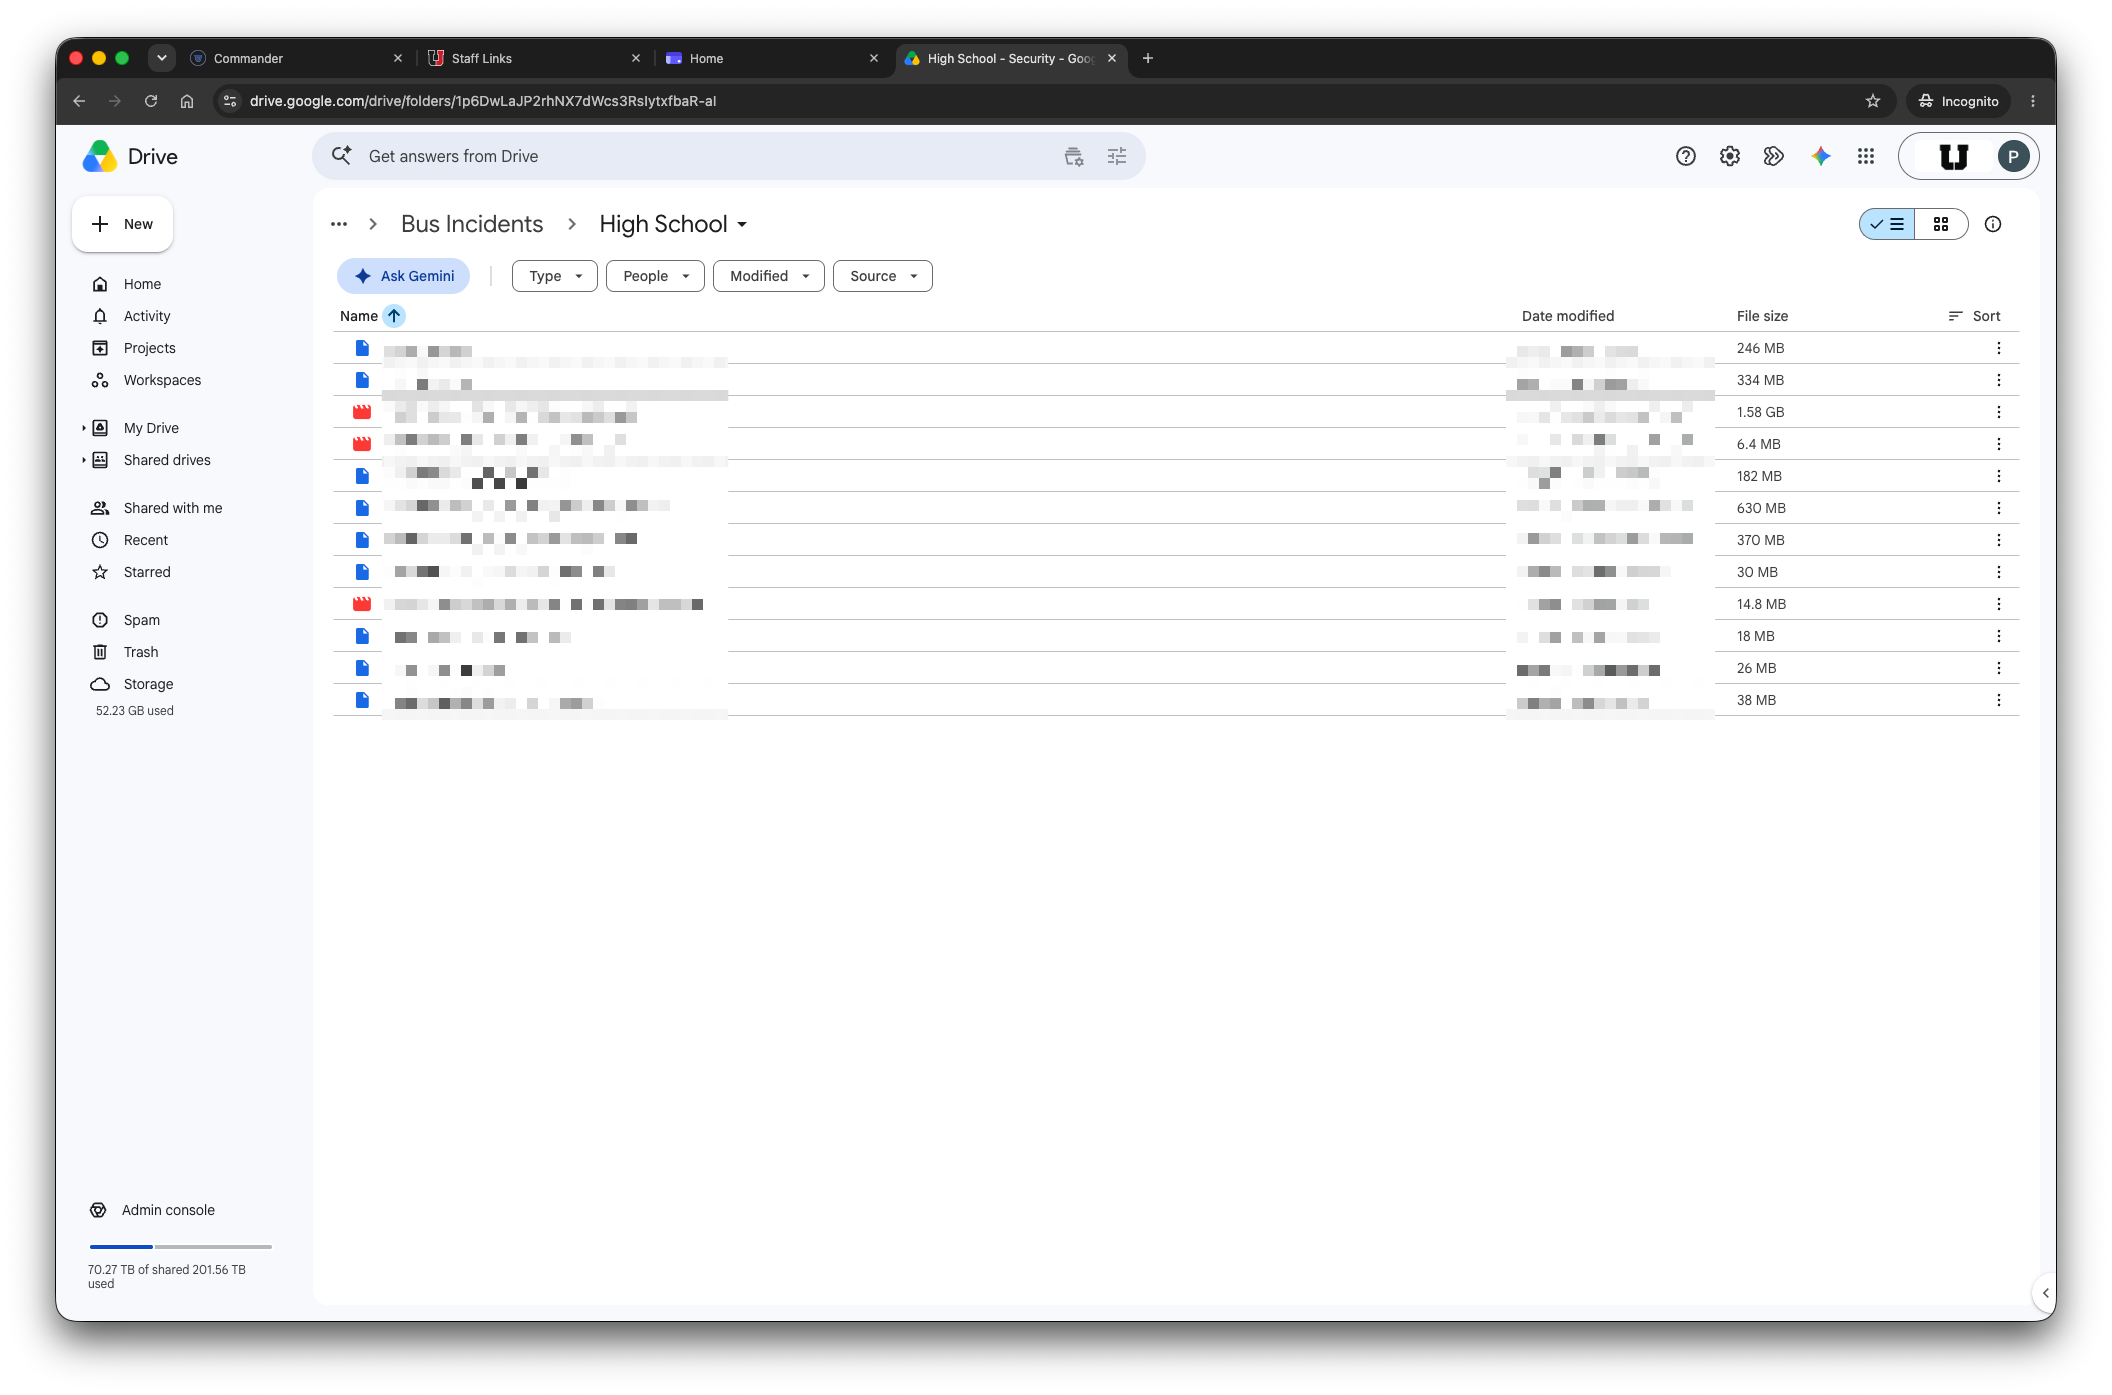
The example video file should be uploaded to the space shown below.
If assistance with the evidence discovery process is needed, please reach out to a security team member or submit a Helpdesk ticket (https://support.uscsd.k12.pa.us/kb/article/244-how-to-get-technology-help/).

